Use frames in Freehand
- 01 Sep 2023
- 10 Minutes to read
- DarkLight
Use frames in Freehand
- Updated on 01 Sep 2023
- 10 Minutes to read
- DarkLight
Article Summary
Share feedback
Thanks for sharing your feedback!
Structure and share your content with ease using frames and walkthroughs. Use frames to organize your canvas and easily share your content.
All frames are automatically added to a walkthrough where you can easily navigate between, share, or export your frames
V6 and V7 users can create frames and walkthroughs using the steps below.
Create frames
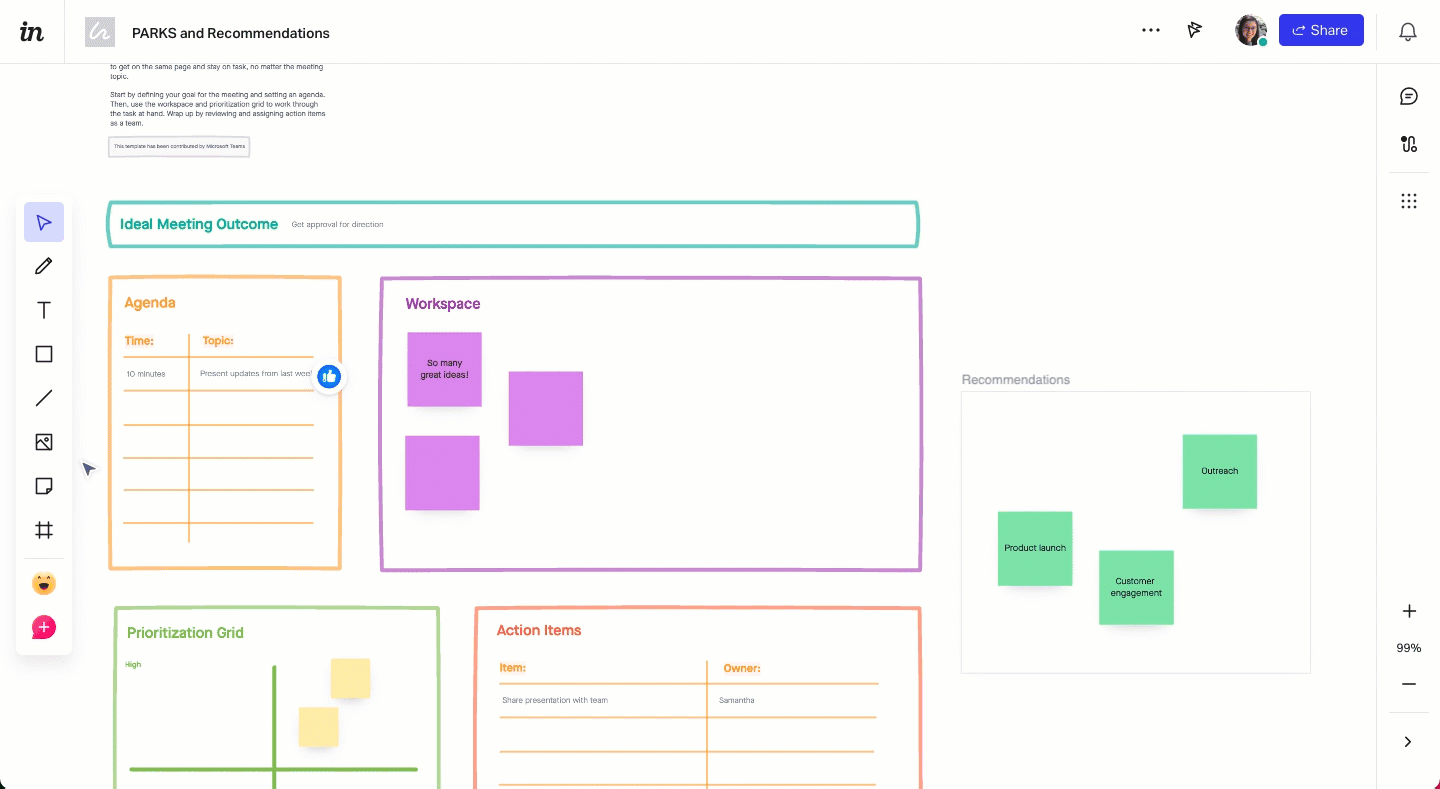
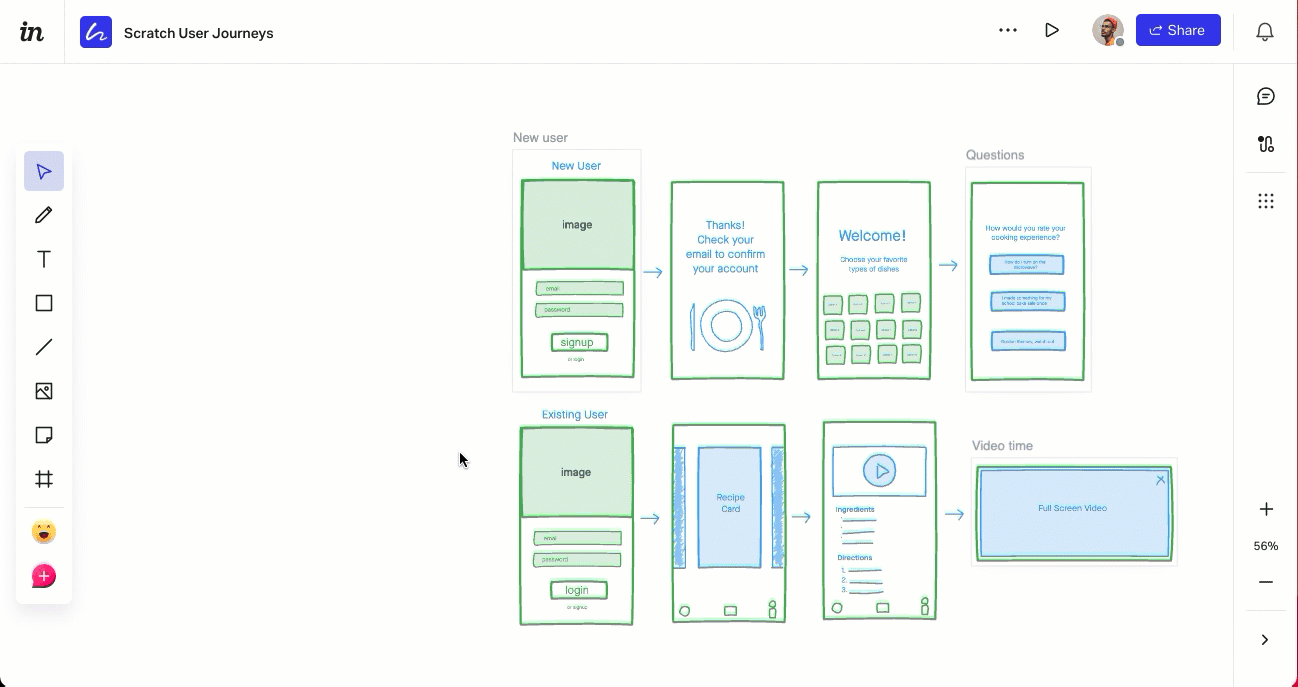
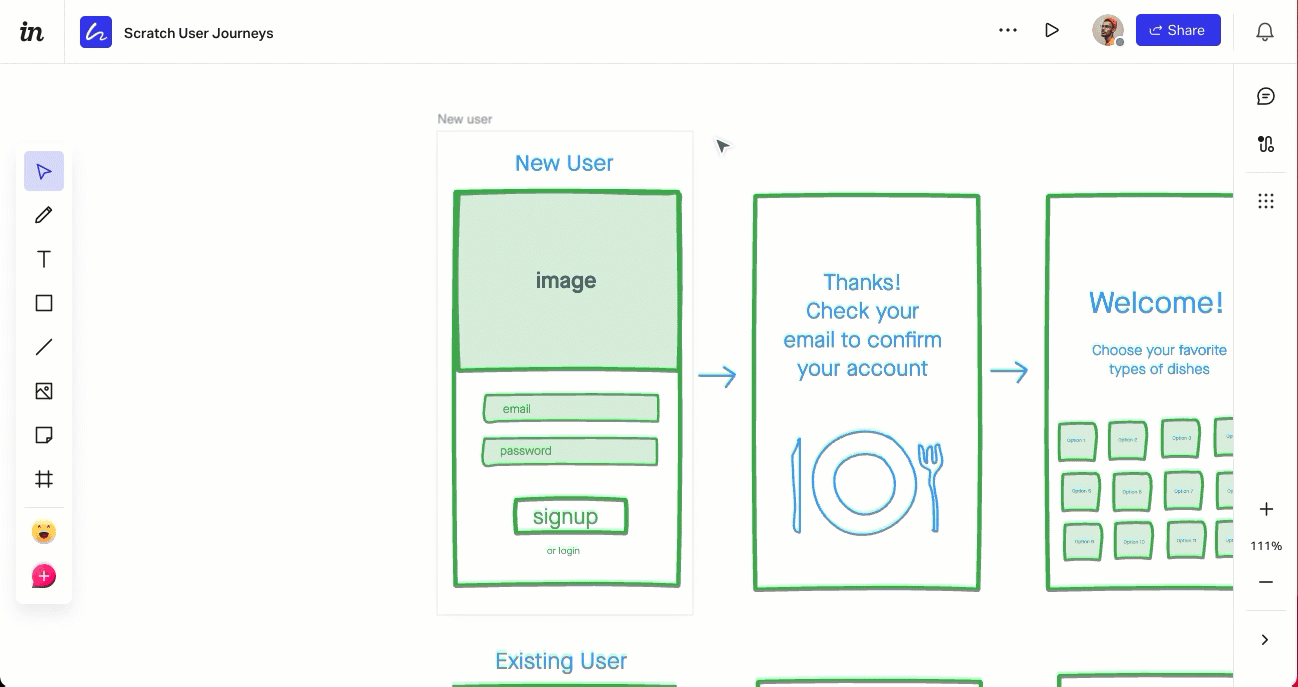
Think of frames as containers or artboards that allow you to organize your Freehand content.
- Select
 Layouts >
 Frame in the toolbar or type
 Fon your keyboard. - Select and drag the cursor to draw the frame. You can create an empty frame and drag content into it, or draw the frame around existing objects.
- Add a title by selecting Untitled frame above the frame. Enter the new name, then press
Enteror select outside the frame.

Add, arrange, and remove items
Add other items to the frame, such as text, sticky notes, and cards. You can rearrange and remove items from a frame at any time. When moving a frame, all the items added to the frame move with it.
To add items to a frame, drag and drop existing items onto the frame. You can also use all the Freehand tools to create items directly in the frame.
To rearrange or resize items in the frame:
- For a single item: Select the item and drag the item handles to make the item bigger or smaller. Select and hold an item to drag it around the frame.
- For multiple items: Hold
Shiftand select each item. You can also select and hold and drag your mouse around all the items you want to arrange. Then, from the contextual menu, choose one or more options:- Select
 Align to change the alignment of the items.
 - Select
 Group to group the items together.
 - Select
 Arrange to grid icon to arrange the items in a grid formation.
- Select
 Align to change the alignment of the items.
 Group to group the items together.
 Arrange to grid icon to arrange the items in a grid formation.
To remove an item from a frame, select the item and delete it or drag it out of the frame. If the frame is moved, the item will not move with it.
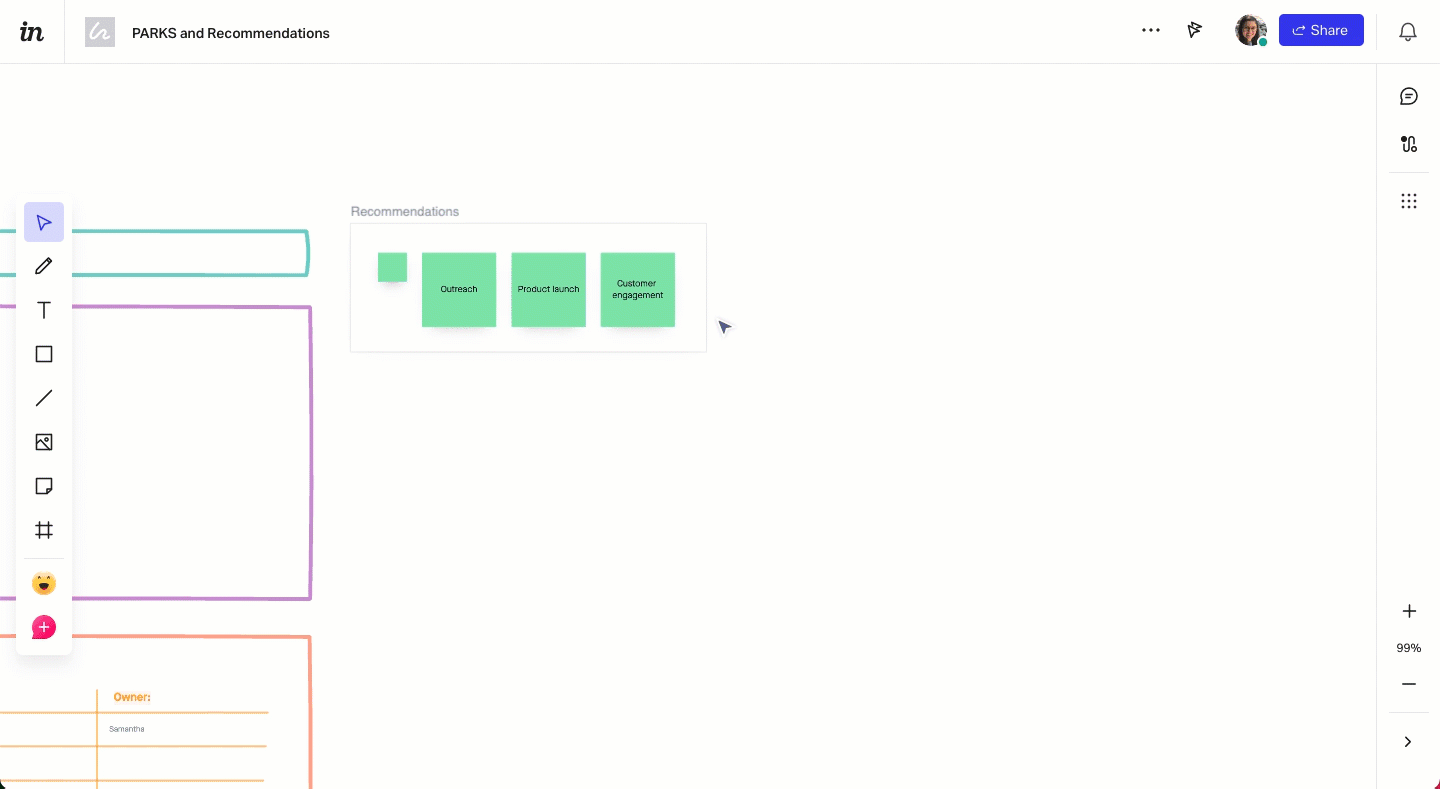
Resize a frame
You can choose to resize a frame without changing the size of the items inside, or you can choose to have the items inside resize with the frame.
To resize a frame without resizing the items inside, select the frame, then select and drag the handles to resize.
To resize a frame and the items within it, select and drag your mouse over all items, including the frame. Select and drag the handles to resize the frame and the items inside.
Duplicate frames
You can duplicate a frame within the same freehand to give yourself double the real estate without the extra work.
- Select the frame you want to duplicate.
- In the contextual menu, select ••• More > Duplicate or use the
Cmd + Dkeyboard shortcut.
The duplicate frame appears nearby with the same title and contents as the original frame.
Arrange frames in a grid
You can arrange multiple frames in a grid. This is especially useful if you want to keep related frames aligned and easy to follow.
- Select your frames by holding
Shiftand selecting the frames, or drag your mouse around all the frames you want to arrange. - Select and holdArrange to grid and drag your mouse to change the orientation or spacing of the frames.
Placeholder frames
Note: Placeholder frames are only available in InVision V7. To confirm your version, check the upper right corner of your dashboard.
Placeholder frames help you improve asynchronous collaboration with your team and create custom templates. You can add different integrations to a placeholder frame to adapt it to your team workflow and needs.
Create a placeholder in a frame
To create a placeholder in a frame, the frame must be blank. If there's any content in the frame, the placeholder won't show up.
- Select an empty frame in your freehand.
- In the contextual menu, select ••• More > Add placeholder.
- Add a prompt describing the action you want users to take. Include integrations by selecting + Include add-ons.
- Select Save.
Edit a placeholder frame
Edit placeholder frames at any time.
- Select the placeholder frame you want to edit.
- In the contextual menu, select ••• More > Edit placeholder.
- Edit the description and remove or include integrations. To removeintegrations, hover over an add-on and select the X that's revealed. To include newintegrations, select + Include add-ons.
- Select Save.
Remove the placeholder from a frame
You can remove the placeholder from a frame at any time. Removing the placeholder leaves a blank frame on the canvas.
- Select the placeholder frame you want to remove.
- In the contextual menu select ••• More > Remove placeholder.
You can also select the frame and press Delete, which deletes the entire frame from the canvas.
Navigate frames
Use the Frames sidebar to navigate and share frames with your audience.
To get started, you need to create one or more frames. You'll then be able to preview and navigate the frames using the Frames sidebar.
- On the bottom-right corner of the canvas, select
 Frame.
 - Select a frame in the sidebar to be taken to the frame on the canvas, or use the arrow keys on your keyboard to navigate through the frames.
Reorder frames in the sidebar
The order of the frames in the sidebar is determined by their positioning (i.e. left to right, top to bottom) on the canvas.
You have two options to reorder frames:
- Move a frame on the canvas and the sidebar automatically syncs.
- Drag and drop a frame to a different position in the sidebar.
If you use this option, you won’t be able to reorder frames by moving them on the canvas.
Navigate through frames
To navigate through your frames using the sidebar:
- Double-select a frame to jump to it on the canvas.
- Use your arrow keys to navigate to the previous/next frame.
Present your content
You can present your frames using Present mode in Freehand. To learn how to use Present mode, read Freehand presentations.
Frame options
When you select a frame or hover over a frame in the Frame sidebar, select the More menu to see the following options:
- Rename: Customize the name of your frame.This option is only available when hovering over a frame in the Frame sidebar.
- Copy link: Create a direct link to that specific frame. This link will have the same sharing settings as the entire document.
- Export to image: Export the frame as a PNG.
- Copy
- Duplicate
- Delete: Deleting a frame will also delete all its contents. If you’ve deleted a frame by accident, you can undo it using
Cmd + Z. You can also revert to a previous version of the document using version history.
Rename frames
You can rename frames from the Frame sidebar, or directly on the canvas.
In the sidebar, the name of each frame appears below its thumbnail. Frames without a name say Untitled frame. Select the text and enter the new name.
To rename a frame in the canvas:
- Select the frame you want to rename.
- Select the name of the frame.
- Enter the new name, then press
Enteror select outside the frame.
Send collaborators directly to an object
When sharing a freehand, you can direct people to a specific object by using its individual link.
- Select the object.
- In the contextual menu, select ••• More > Copy link.
- Share the link.
When someone follows an object's link, their canvas zooms in and focuses on the object you linked them to.
Download frames
Download frames by exporting them to an image. Frames export as a PNG file.
- Select the frame you want to download.
- In the contextual menu, select ••• More > Export to image.
Create frames
Frames are containers/artboards that allow you to organize your Freehand content.
To create a frame:
- Select the Frame tool
 in the toolbar or type
 Fon your keyboard. - Select and drag the cursor to draw the frame. You can create an empty frame and drag content into it, or draw the frame around existing objects.
- Add a title by selecting Untitled frame above the frame. Enter the new name, then press
Enteror select outside the frame.
 in the toolbar or type
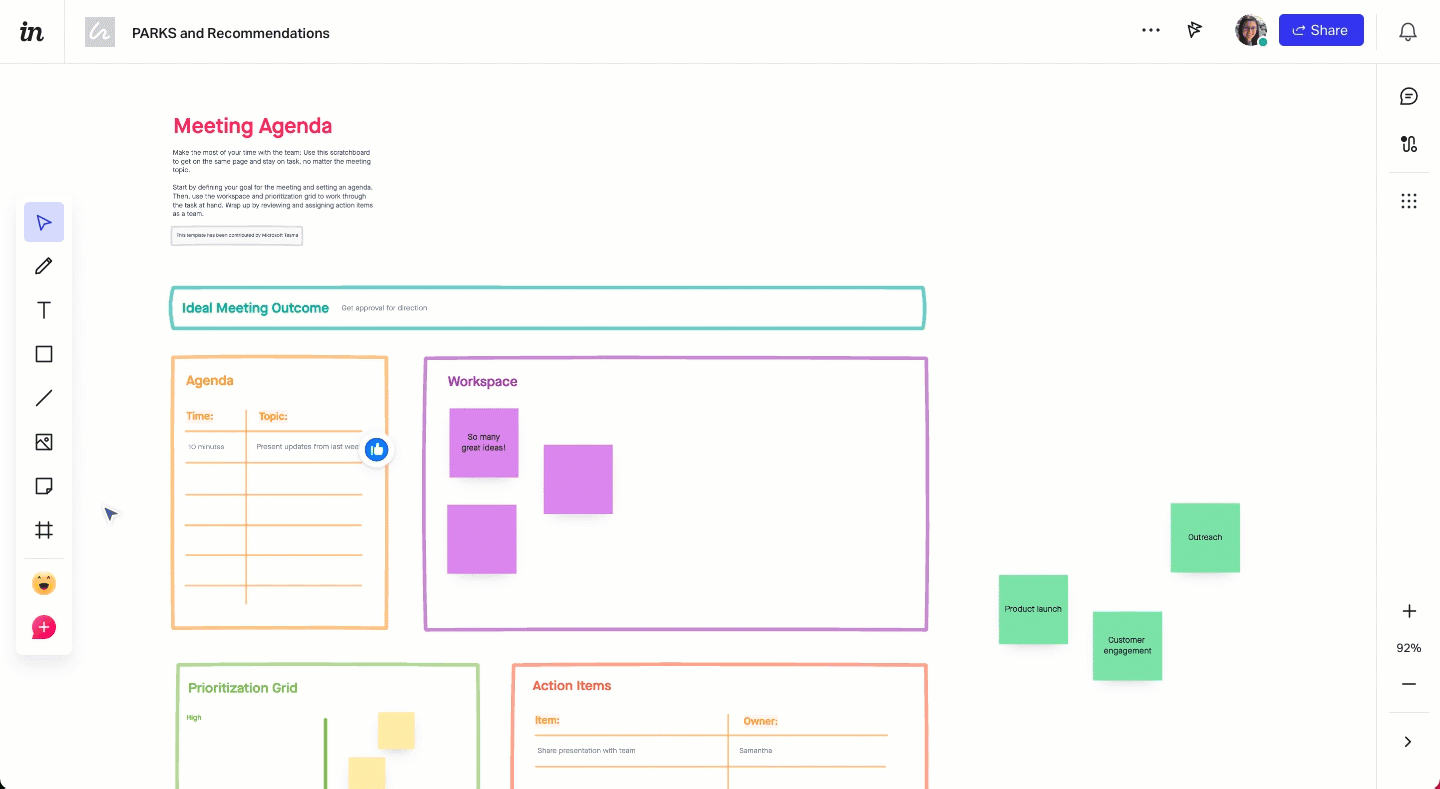
Add, arrange, and remove items
Quickly edit a frame by adding, arranging, or removing an item. If an item is added to a frame and the frame is moved, the item will move with the frame.
To add an item to a frame:
- In the toolbar on the left, select the tool you want to use to add an item to the frame.
- With the tool selected, use the tool to draw within the frame.
- Optionally, change the size or arrangement of the item within the frame:
- For a single item: Select the item and drag the item handles to make the item bigger or smaller. You can also move the item to another part of the frame.
- For multiple items: Select multiple items in a frame by holding down
Shifton the keyboard and selecting the frames, or drag your mouse around all the items you want to arrange. Then, from the contextual menu, choose one or more options:- Select the Align icon
 to change the alignment of the items.
 - Select the Group icon
 to group the items together.
 - Select and drag the Arrange to grid icon
 to arrange the items in a grid formation.
- Select the Align icon
To remove an item from a frame, select the item and delete it or drag it out of the frame. If the frame is moved, the item will not move with it.
Resize a frame
You can choose to resize a frame without changing the size of the items inside, or you can choose to have the items inside resize with the frame.
To resize a frame without resizing the items inside, select the frame, then select and drag the handles to resize.
To resize a frame and the items within it, select and drag your mouse over all items, including the frame. Select and drag the handles to resize the frame and the items inside.
Duplicate frames
You can duplicate a frame within the same freehand to give yourself double the real estate without the extra work.
To duplicate a frame:
- Select the frame you want to duplicate.
- Select the More icon
 above the frame, and select Duplicate or use the
 Cmd + Dkeyboard shortcut. The duplicate frame will appear nearby and will have the same title as the original frame.
 above the frame, and select Duplicate or use the
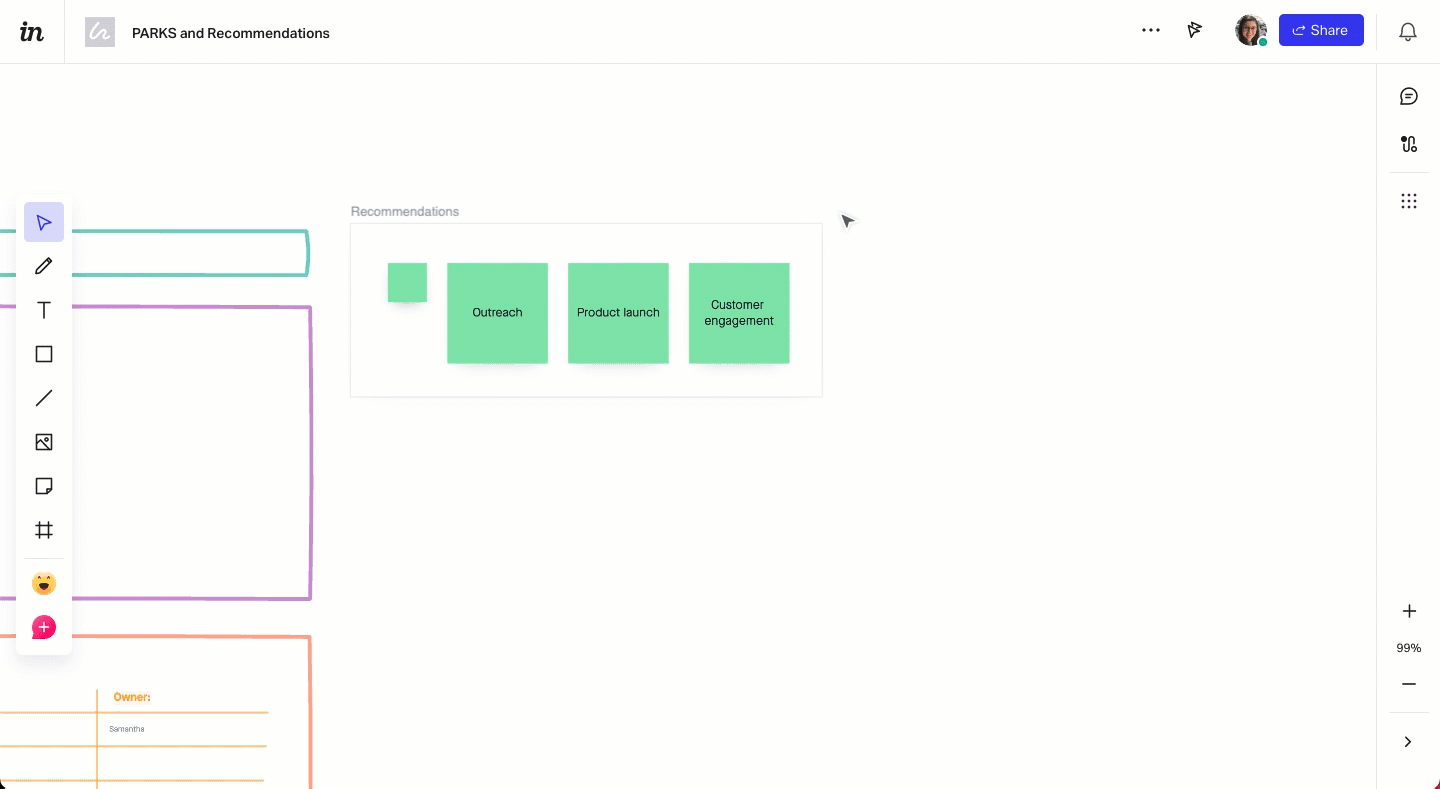
Arrange frames in a grid
You can arrange multiple frames in a grid. This is especially useful if you want to keep related frames aligned and easy to follow.
To arrange frames in a grid:
- Select your frames by holding down
Shifton your keyboard and selecting the frames, or drag your mouse around all the frames you want to arrange. - Select the Arrange to grid iconand drag your mouse to change the orientation or spacing of the frames.

Walkthroughs
Use Walkthroughs to easily navigate through your content and seamlessly share frames with your audience.
To get started, you need to create one or more frames by selecting the Frame tool in the toolbar on the left (or by typing F on your keyboard). You will then be able to preview and navigate the frames using Walkthroughs.
To use Walkthroughs:
- On the right sidebar, select the Walkthroughs icon
 .
. - Select a frame in the sidebar to be taken to the frame on the canvas, or use the arrow keys on your keyboard to navigate through the frames.
The order of the frames in the walkthrough is determined by their positioning (i.e. left to right, top to bottom) on the canvas. To reorder the frames in the walkthrough, change their positioning on the canvas and the walkthrough will automatically sync. To change a frame title in the walkthrough, double-select the title and enter a new title.
Navigate through your content
To navigate through your frames:
- Double-select a frame to jump to it.
- Use your arrow keys to navigate to the previous/next frame.
Present your content
You can present your frames using Present mode in Freehand. To learn how to use Present mode, see here: Presenting in freehand.
Frame options
When you select a frame or hover over a frame in the Walkthroughs menu  , you can select the More menu
 to see the following options:
- Rename: Customize the name of your frame.
- Copy link: Create a direct link to that specific frame. This link will have the same sharing settings as the entire document.
- Export to image: Export the frame as a PNG.
- Copy
- Duplicate
- Delete: Deleting a frame will also delete all its contents. If you’ve deleted a frame by accident, you can undo it by typing
Cmd + Z. You can also revert to a previous version of the document using version history.
Rename frames
To rename a frame:
- Select the frame you want to rename.
- In the contextual menu, select the More menu
 .
. - Select Rename.
- Enter the new name, then press
Enteror select outside the frame.
Deep link to frames
To link directly to a frame:
- Select the frame you want to link to.
- In the contextual menu, select the More menu.
- Select Copy link.
Download frames
To export a frame:
- Select the frame you want to rename.
- In the contextual menu, select the More menu.
- Select Export to image.
The frame will be downloaded as a PNG.
Was this article helpful?