SSO: Configuring Okta for use with InVision V6
- 20 Jan 2023
- 1 Minute to read
- DarkLight
SSO: Configuring Okta for use with InVision V6
- Updated on 20 Jan 2023
- 1 Minute to read
- DarkLight
Article Summary
Share feedback
Thanks for sharing your feedback!
This article provides answers for InVision V7 To confirm your version, check the upper right corner of your dashboard. On V6? Check out this article instead. |  |
- Add InVision as a new application in Okta
- Add your users to the application
- Download the metadata for the application
- Send the metadata to the InVision Support team so we can finish the configuration.
Adding InVision as a new application in Okta
To add the InVision app in Okta:
- Sign in to Okta as an admin.
- In the sidebar, navigate to Applications.
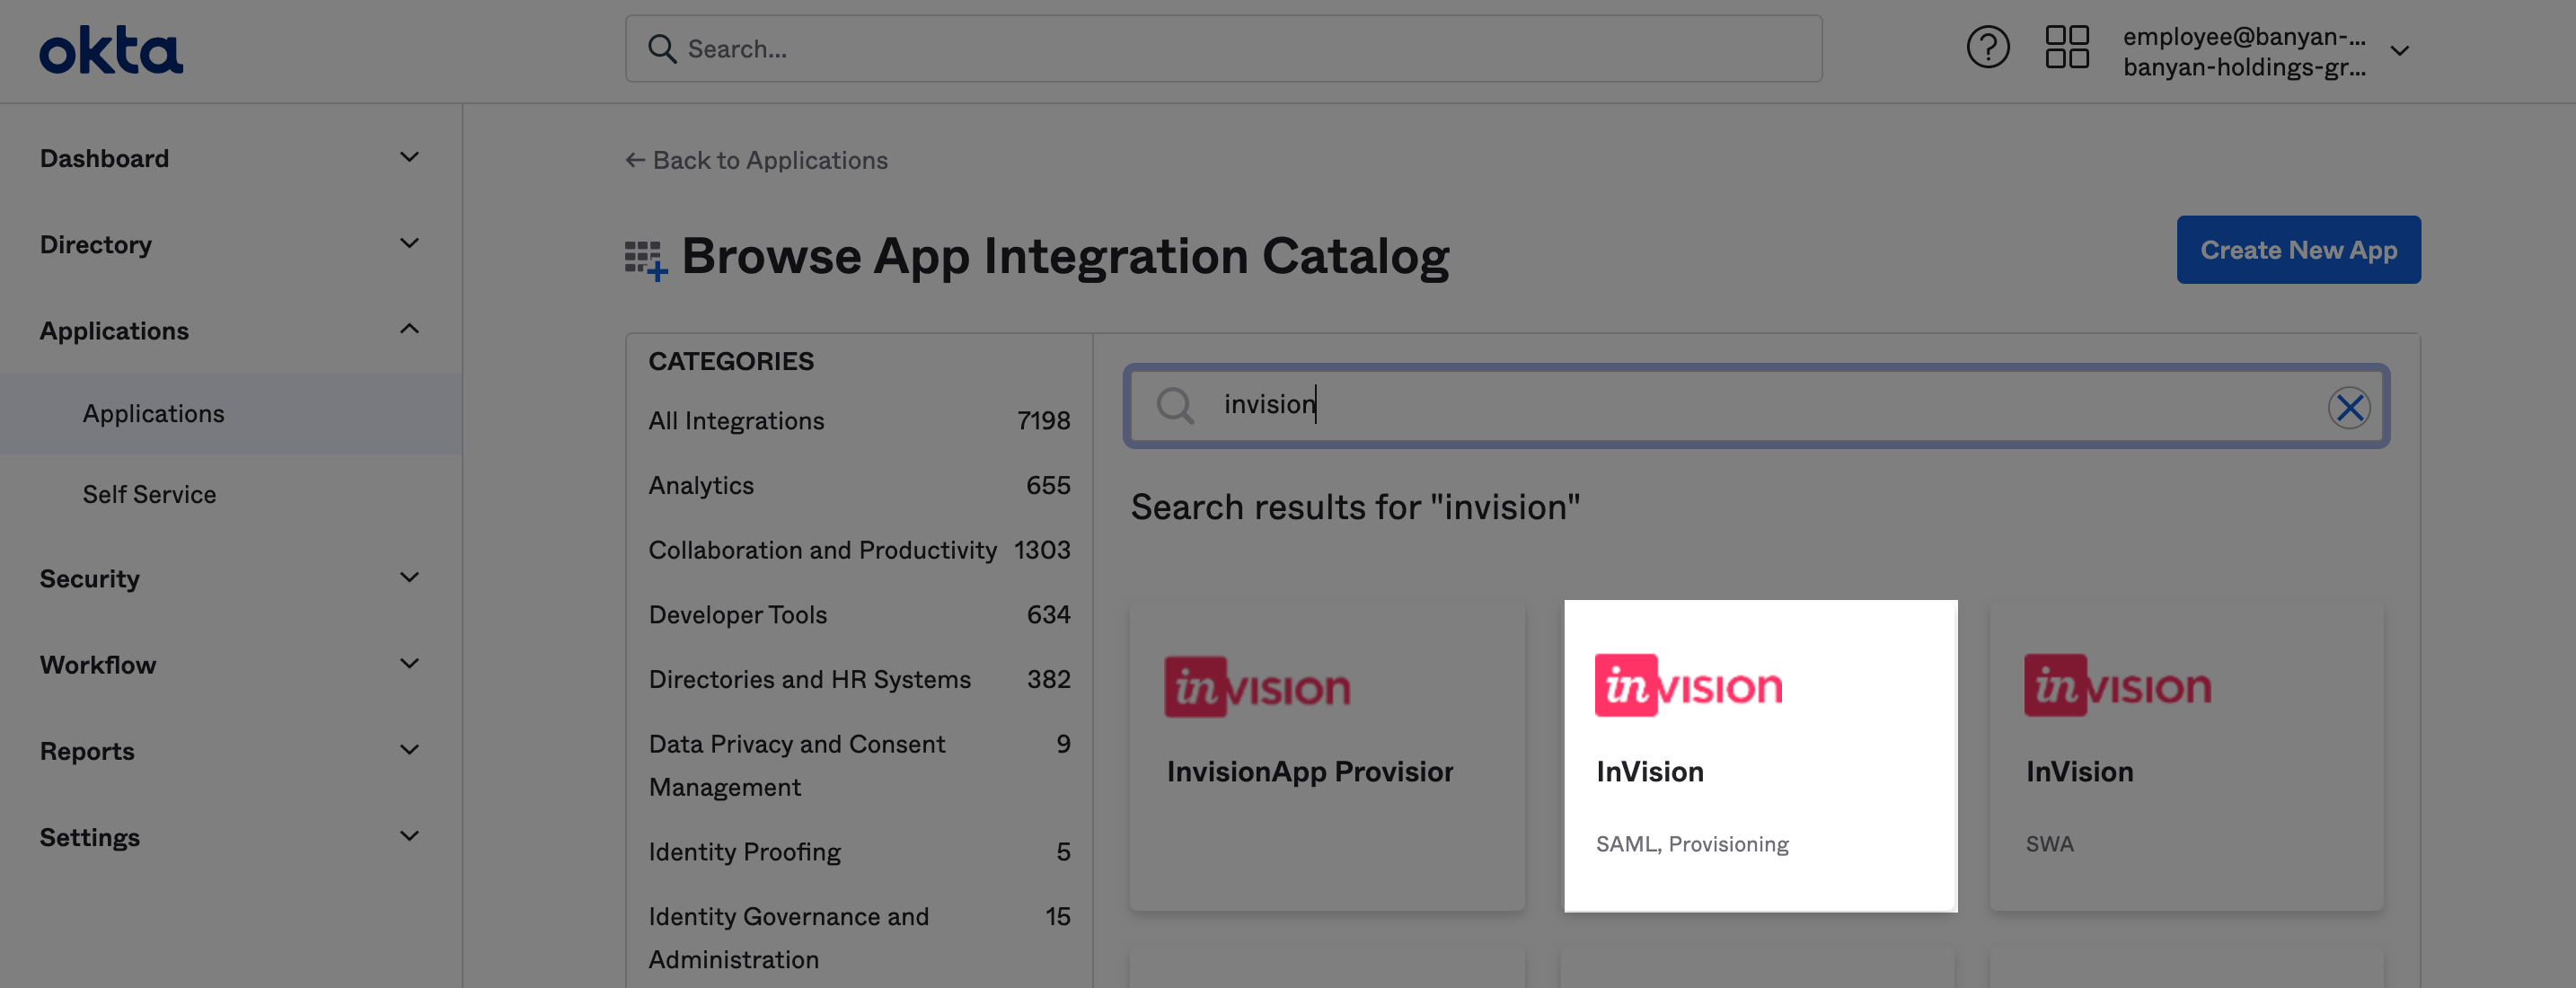
- Click Browse App Catalog.

- In the search bar at the top, look up "InVision"
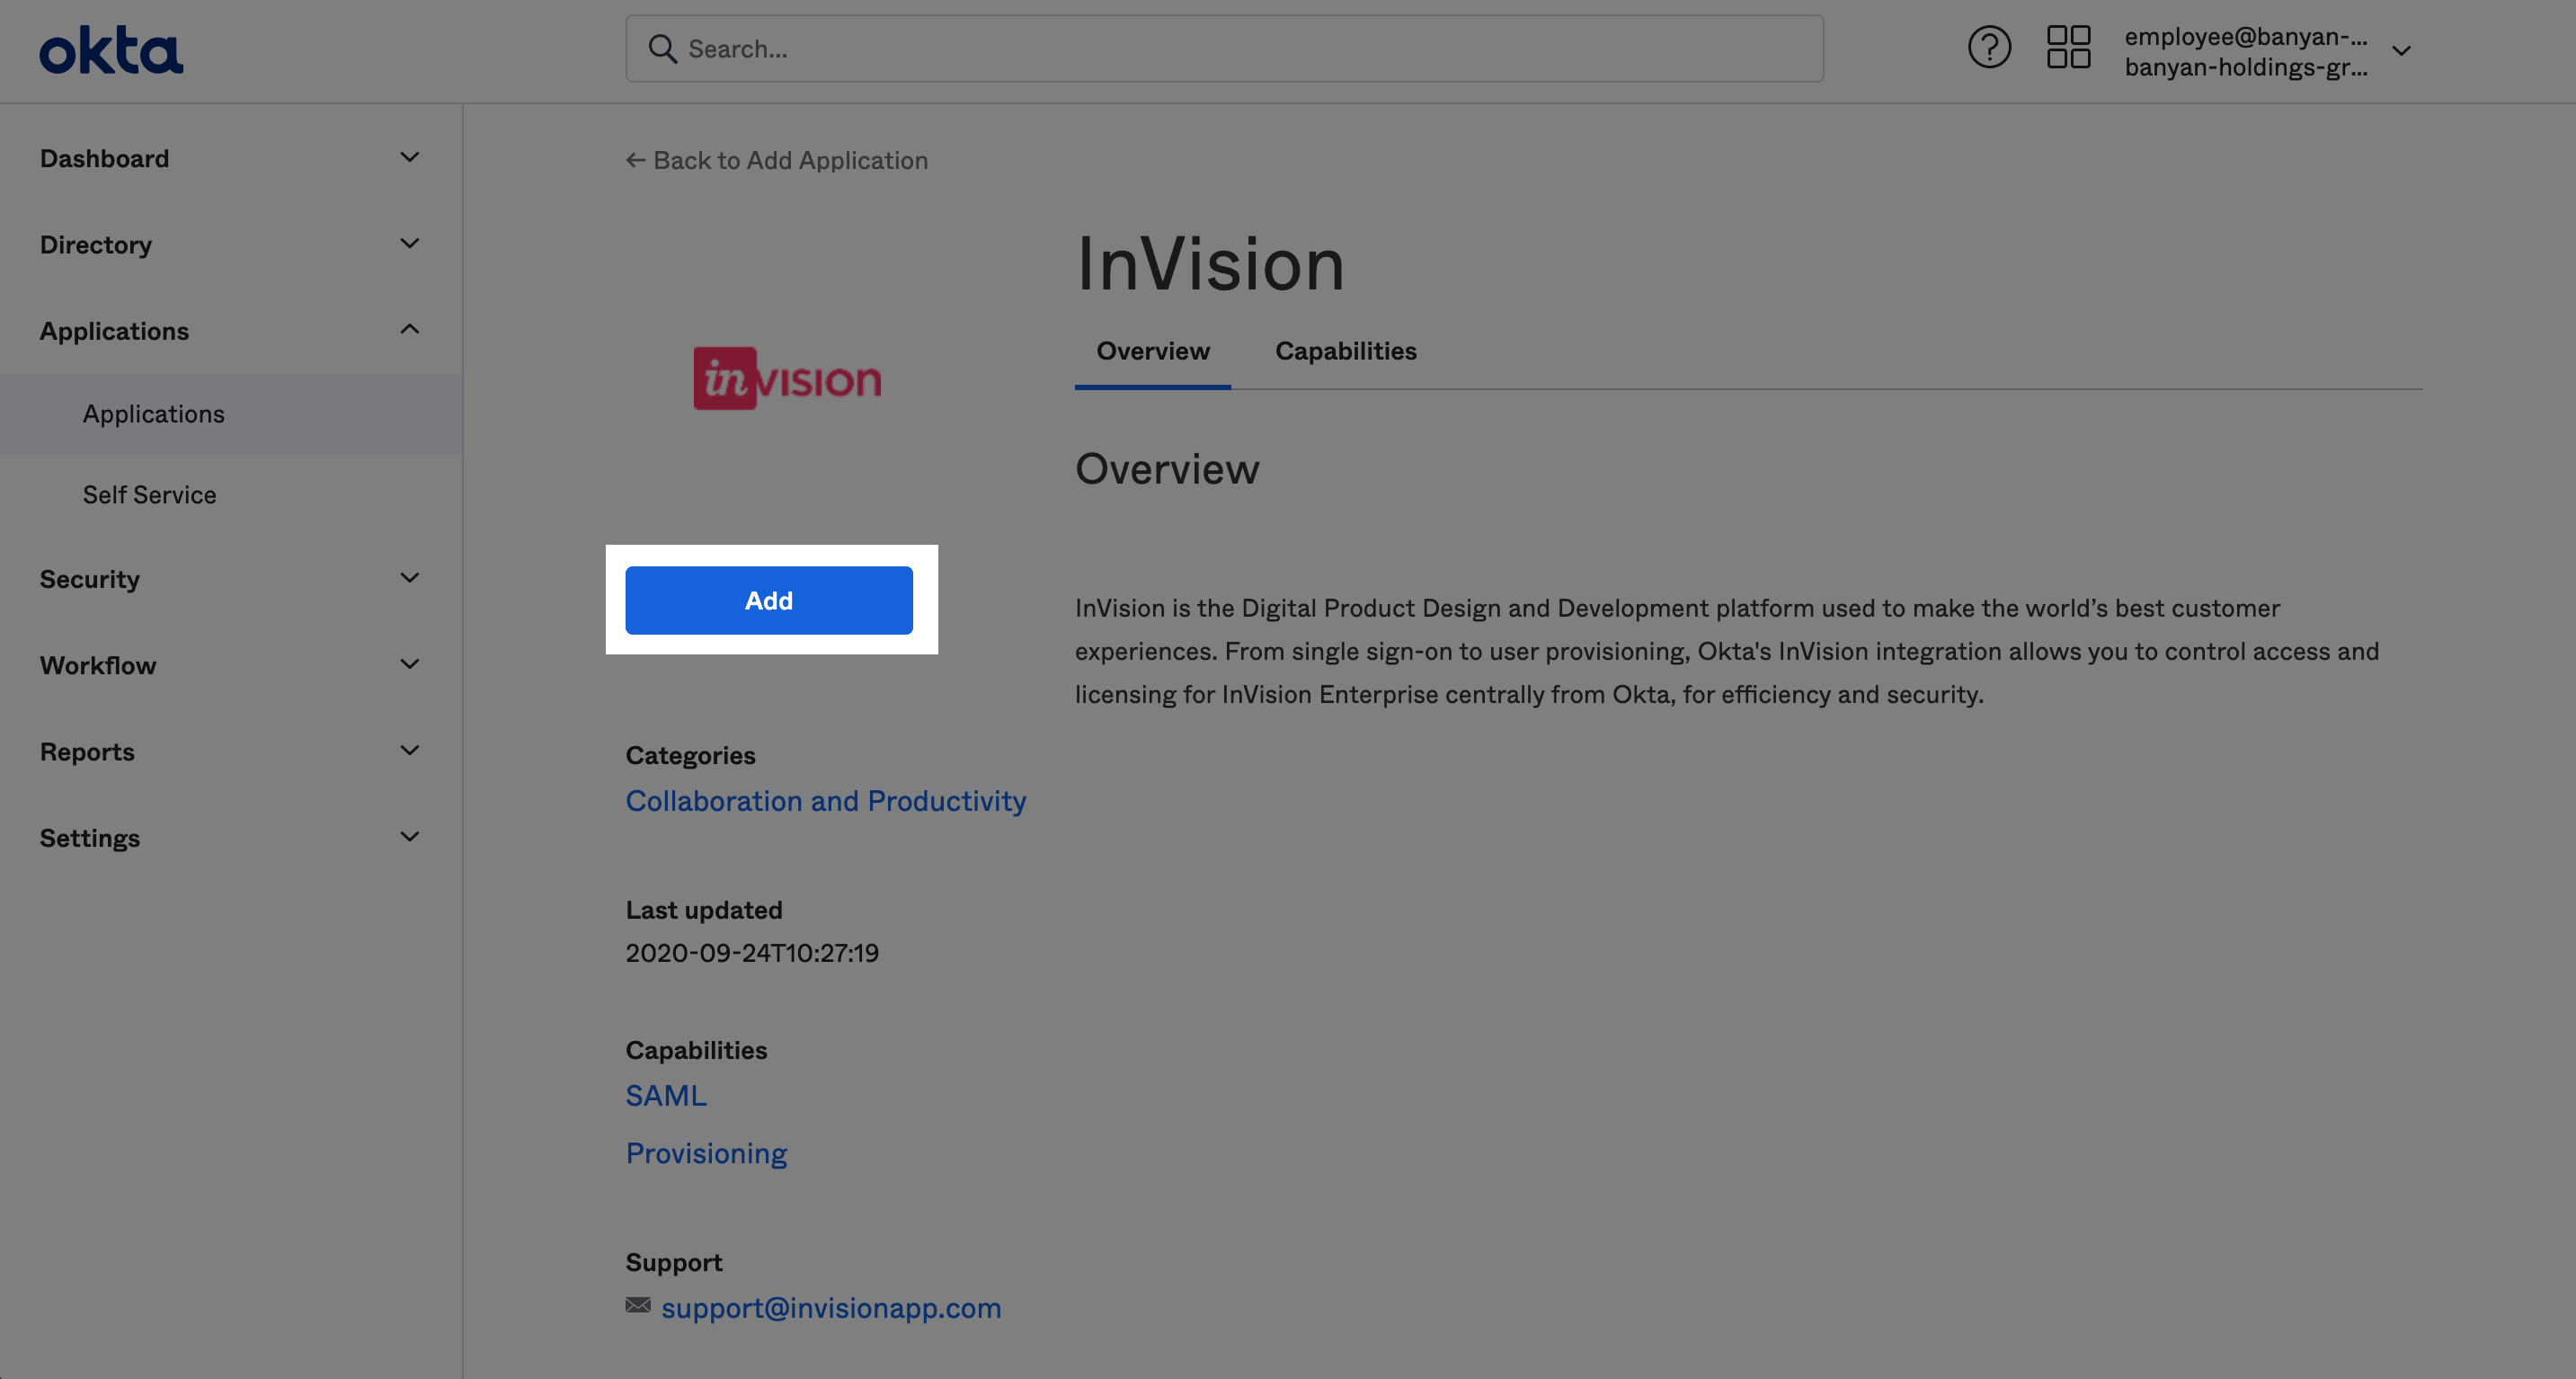
- Select the InVisionapp.
- Click Add.
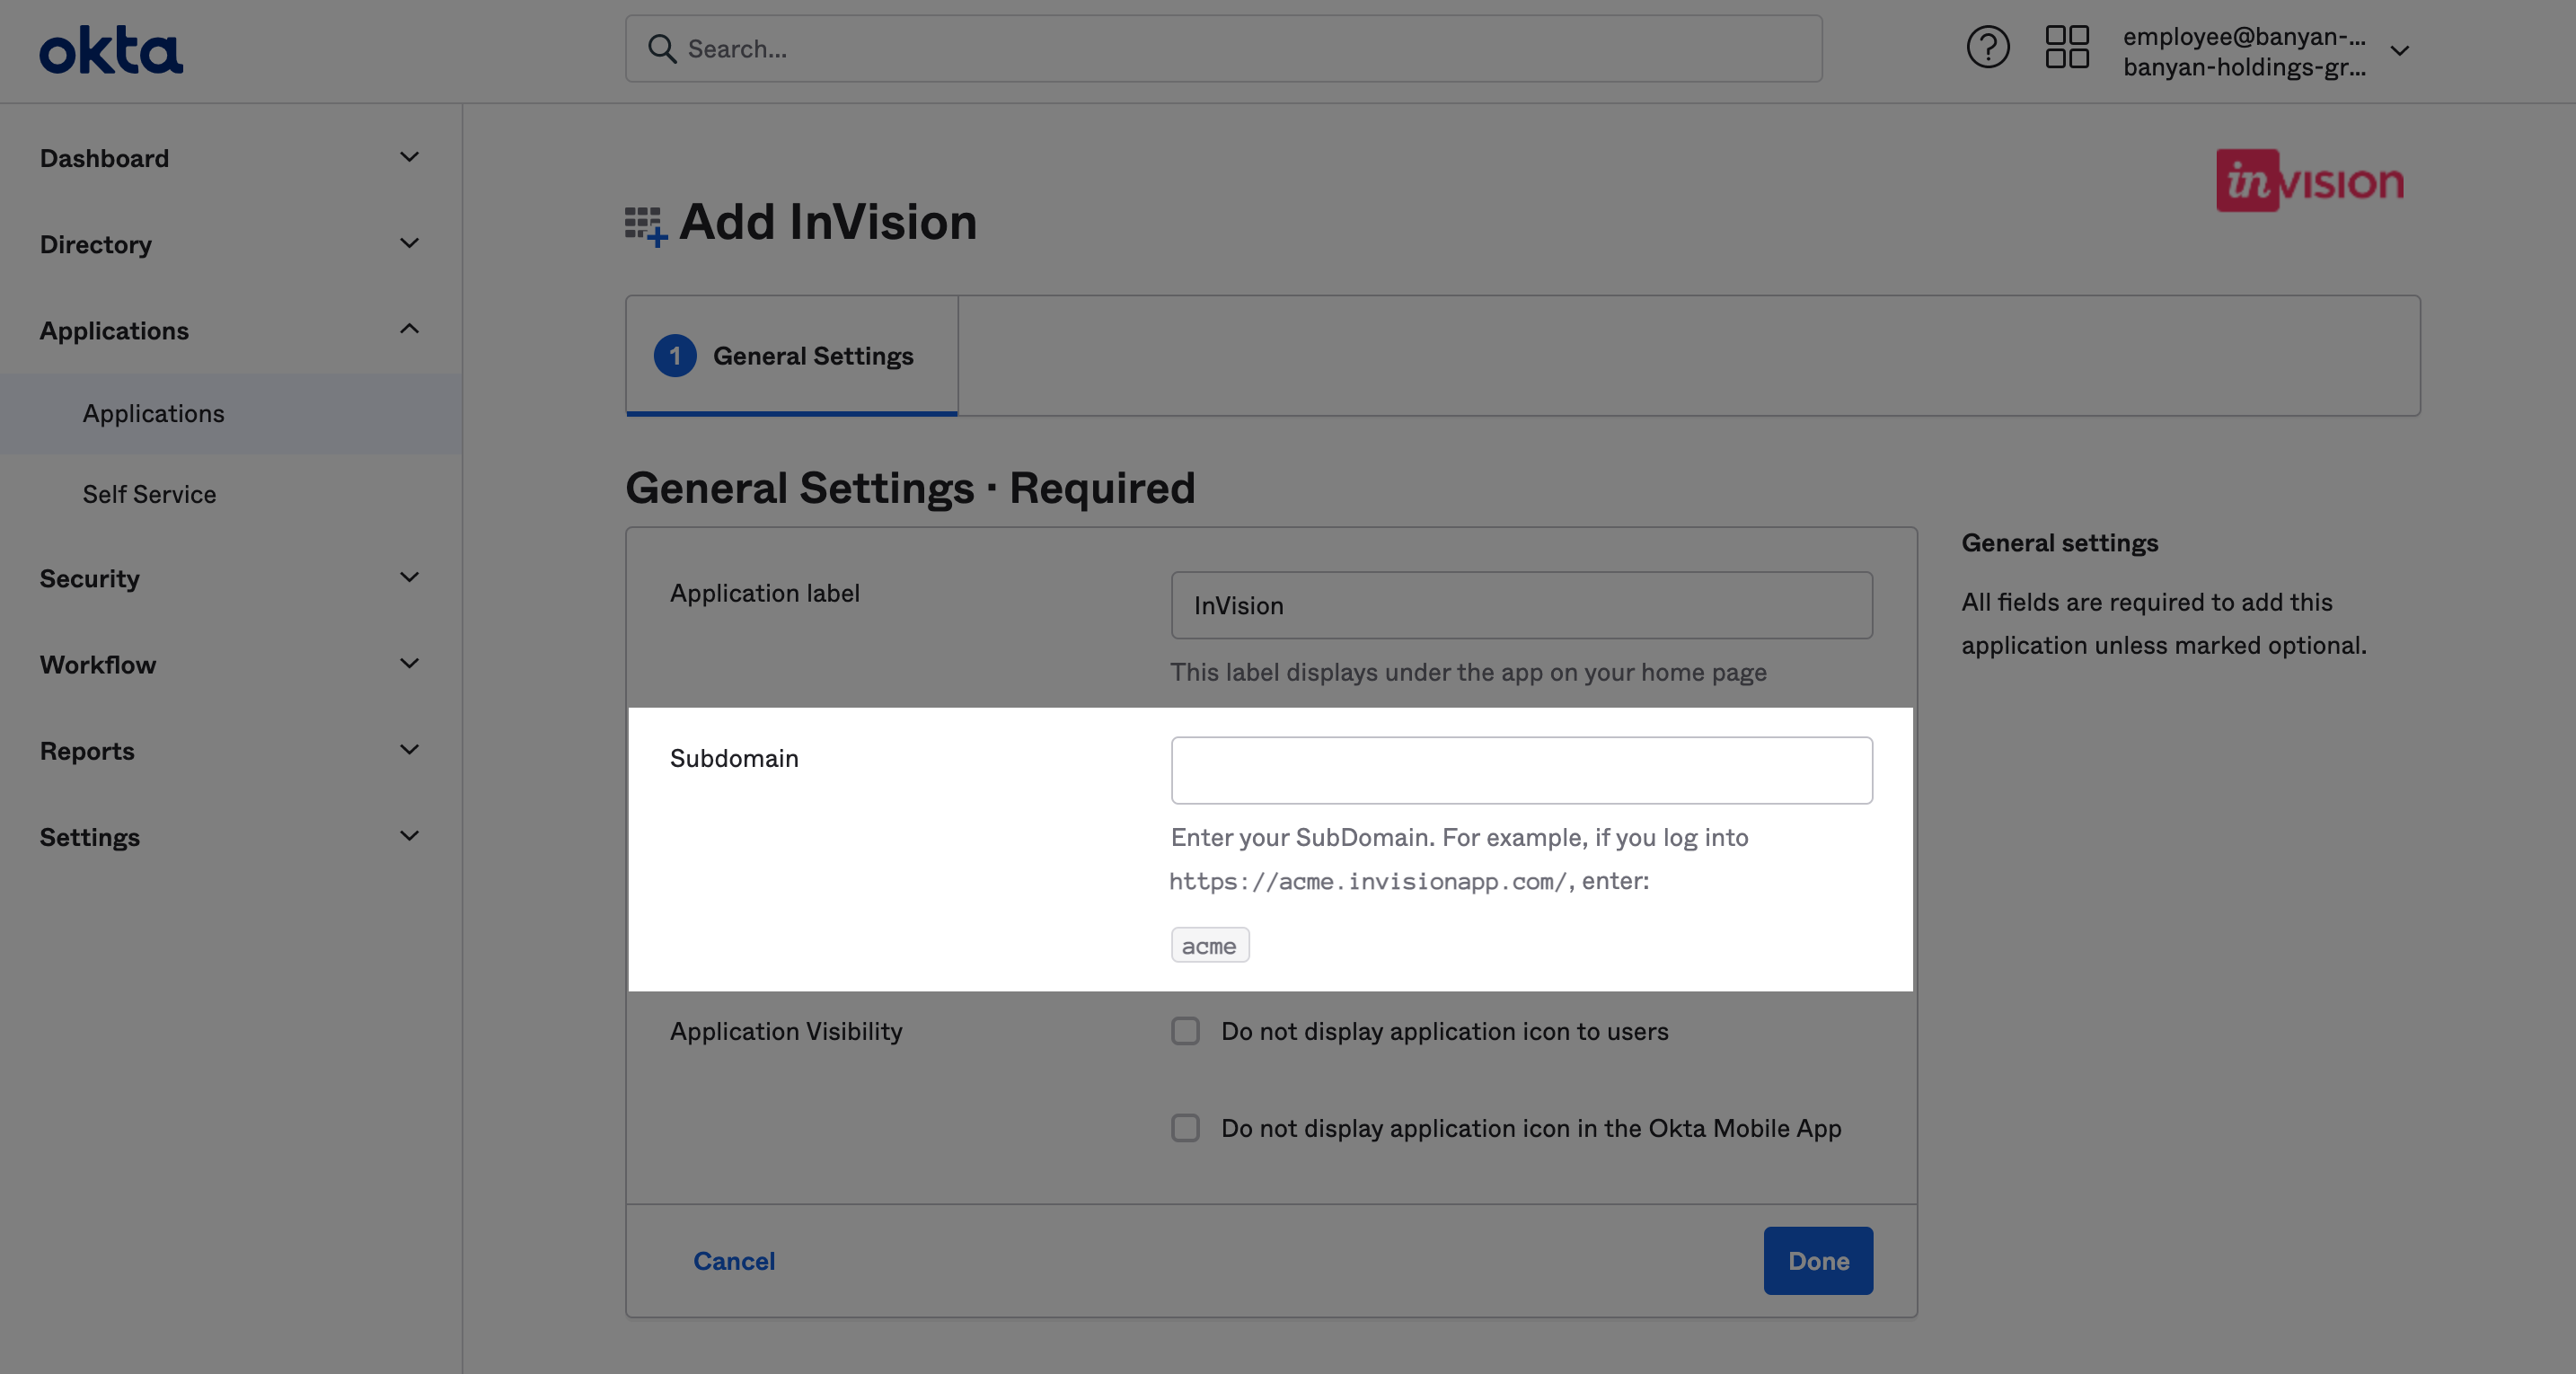
- On the following General Settings page, enter your InVision subdomain in the Subdomain field and click Done.


Add your users to the application
Under the Assignments tab, click the Assign button to assign people or groups who should be able to access InVision. If you don't add them, they won't be able to access InVision via Okta.
Be sure to verify that the email addresses in Okta match those for existing InVision accounts.

Download the metadata for the application
To download the metadata:
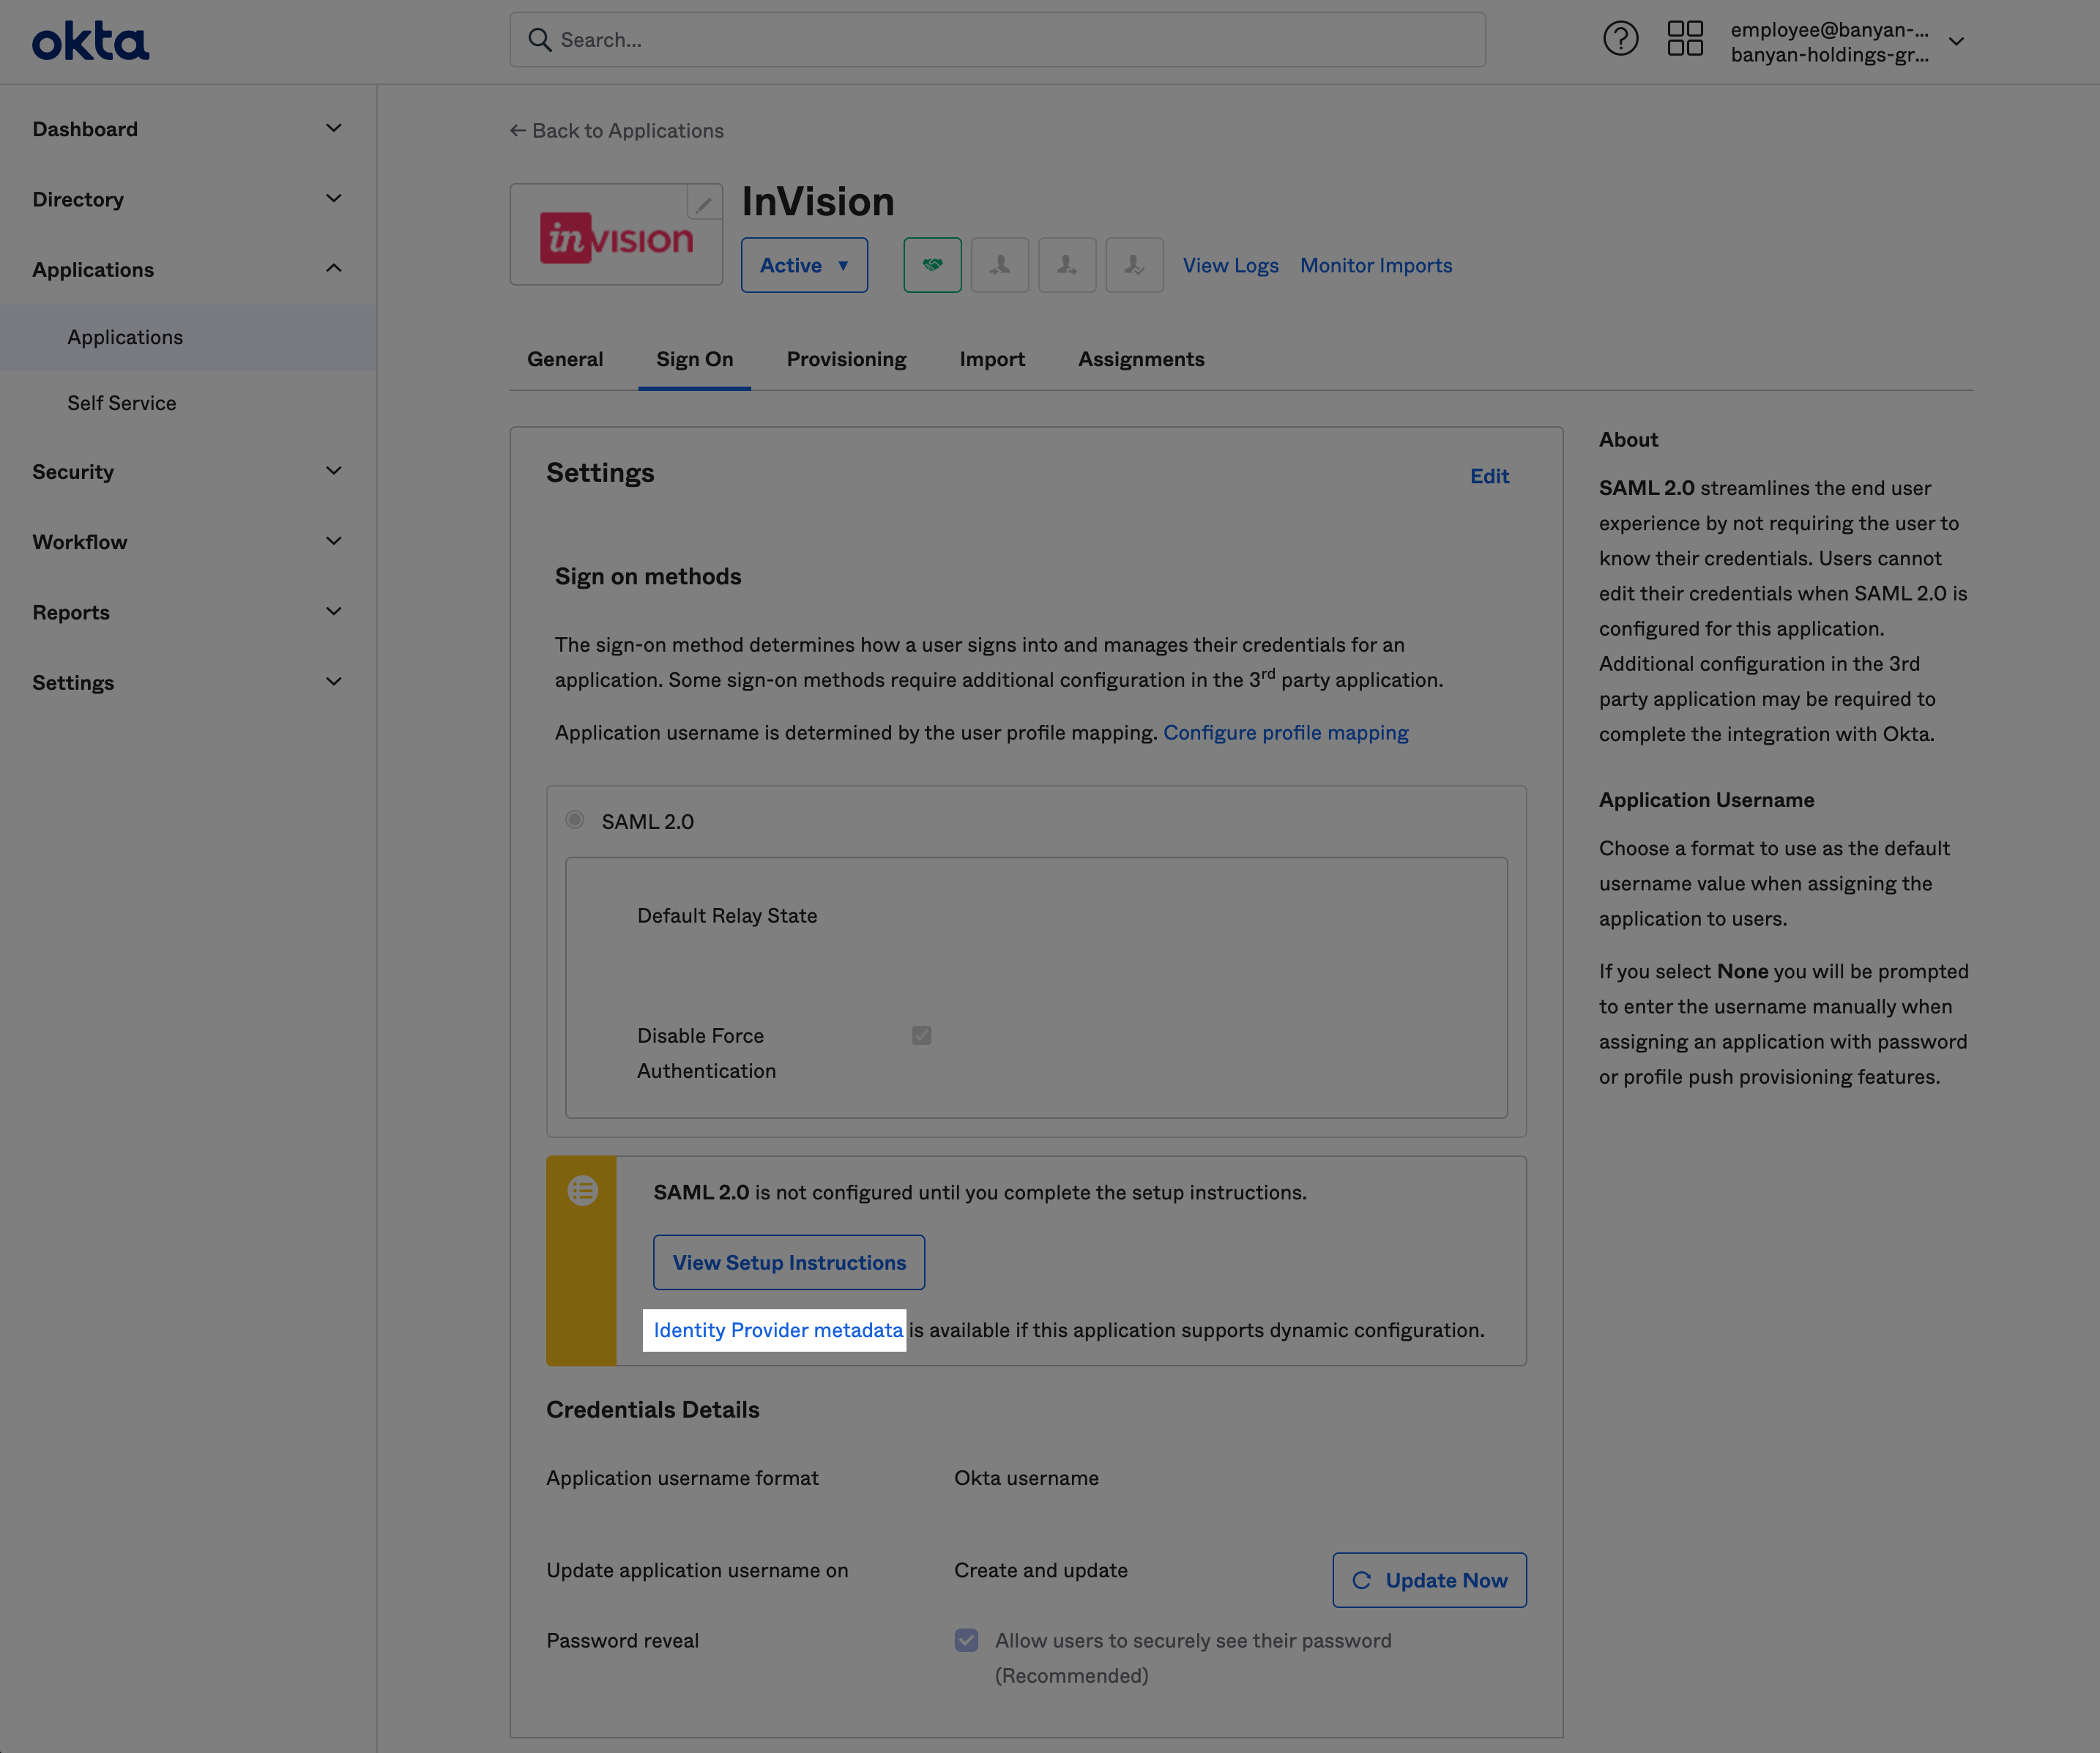
- Click the Sign On tab.
- Click the Identity Provider metadatalink.
This will open a new window with a XML file containing the metadata. You'll need to send this file to InVision Support to finish the configuration process.

Sending metadata to InVision Support
Once you've downloaded your metadata from Okta, the owner or an admin on your InVision Enterprise must submit a request to InVision Support. Be sure to attach the metadata that you downloaded in the previous step.
Once you send us the metadata, do not delete or re-create the application in Okta. Doing so will change the metadata and will require that you repeat the configuration process in order to get Okta working with InVision again.
Was this article helpful?