SSO: Configure Okta for Use with InVision V7
- 19 Apr 2023
- 1 Minute to read
- DarkLight
SSO: Configure Okta for Use with InVision V7
- Updated on 19 Apr 2023
- 1 Minute to read
- DarkLight
Article Summary
Share feedback
Thanks for sharing your feedback!
This article provides answers for InVision V7 To confirm your version, check the upper right corner of your dashboard. On V6? Check out this article instead. | 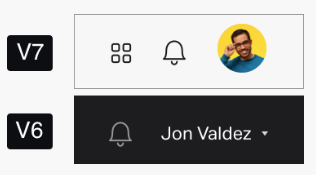 |
Getting set up to use Okta with InVision V7 involves four primary tasks:
- Add InVision as a new application in Okta
- Add your users to the application
- Download the metadata for the application
- Configure Okta in InVision
We recommend that these steps are completed by your IT team or an IT Manager.
Add InVision as a new application in Okta
To add the InVision app in Okta, follow the steps in this article.
Add your users to the application
From your Okta account and under the Assignments tab, select Assign to assign people or groups who should be able to access InVision. If you don't add them, they won't be able to access InVision via Okta
Note: Be sure to verify that the email addresses in Okta match those for existing InVision accounts.
Download the metadata for the application
To download the metadata:
- Sign in to your Okta account and click the Sign On tab.
- Click the Identity Provider metadata link.
This opens a new window with a XML file containing the metadata. This file includes information you will need to fill out when configuring Okta in InVision that's is sign-in URL, SAML certificate).
Configure Okta in InVision
With InVision V7, you can configure Okta directly from your team settings.
To perform this action, you must be an owner or admin on the Enterprise account.
To configure Okta:
- Sign in to your InVision Enterprise here:
your-team-name.invisionapp.com - In the lower-left corner, click the team tray > Settings.
- Click Single sign-on.
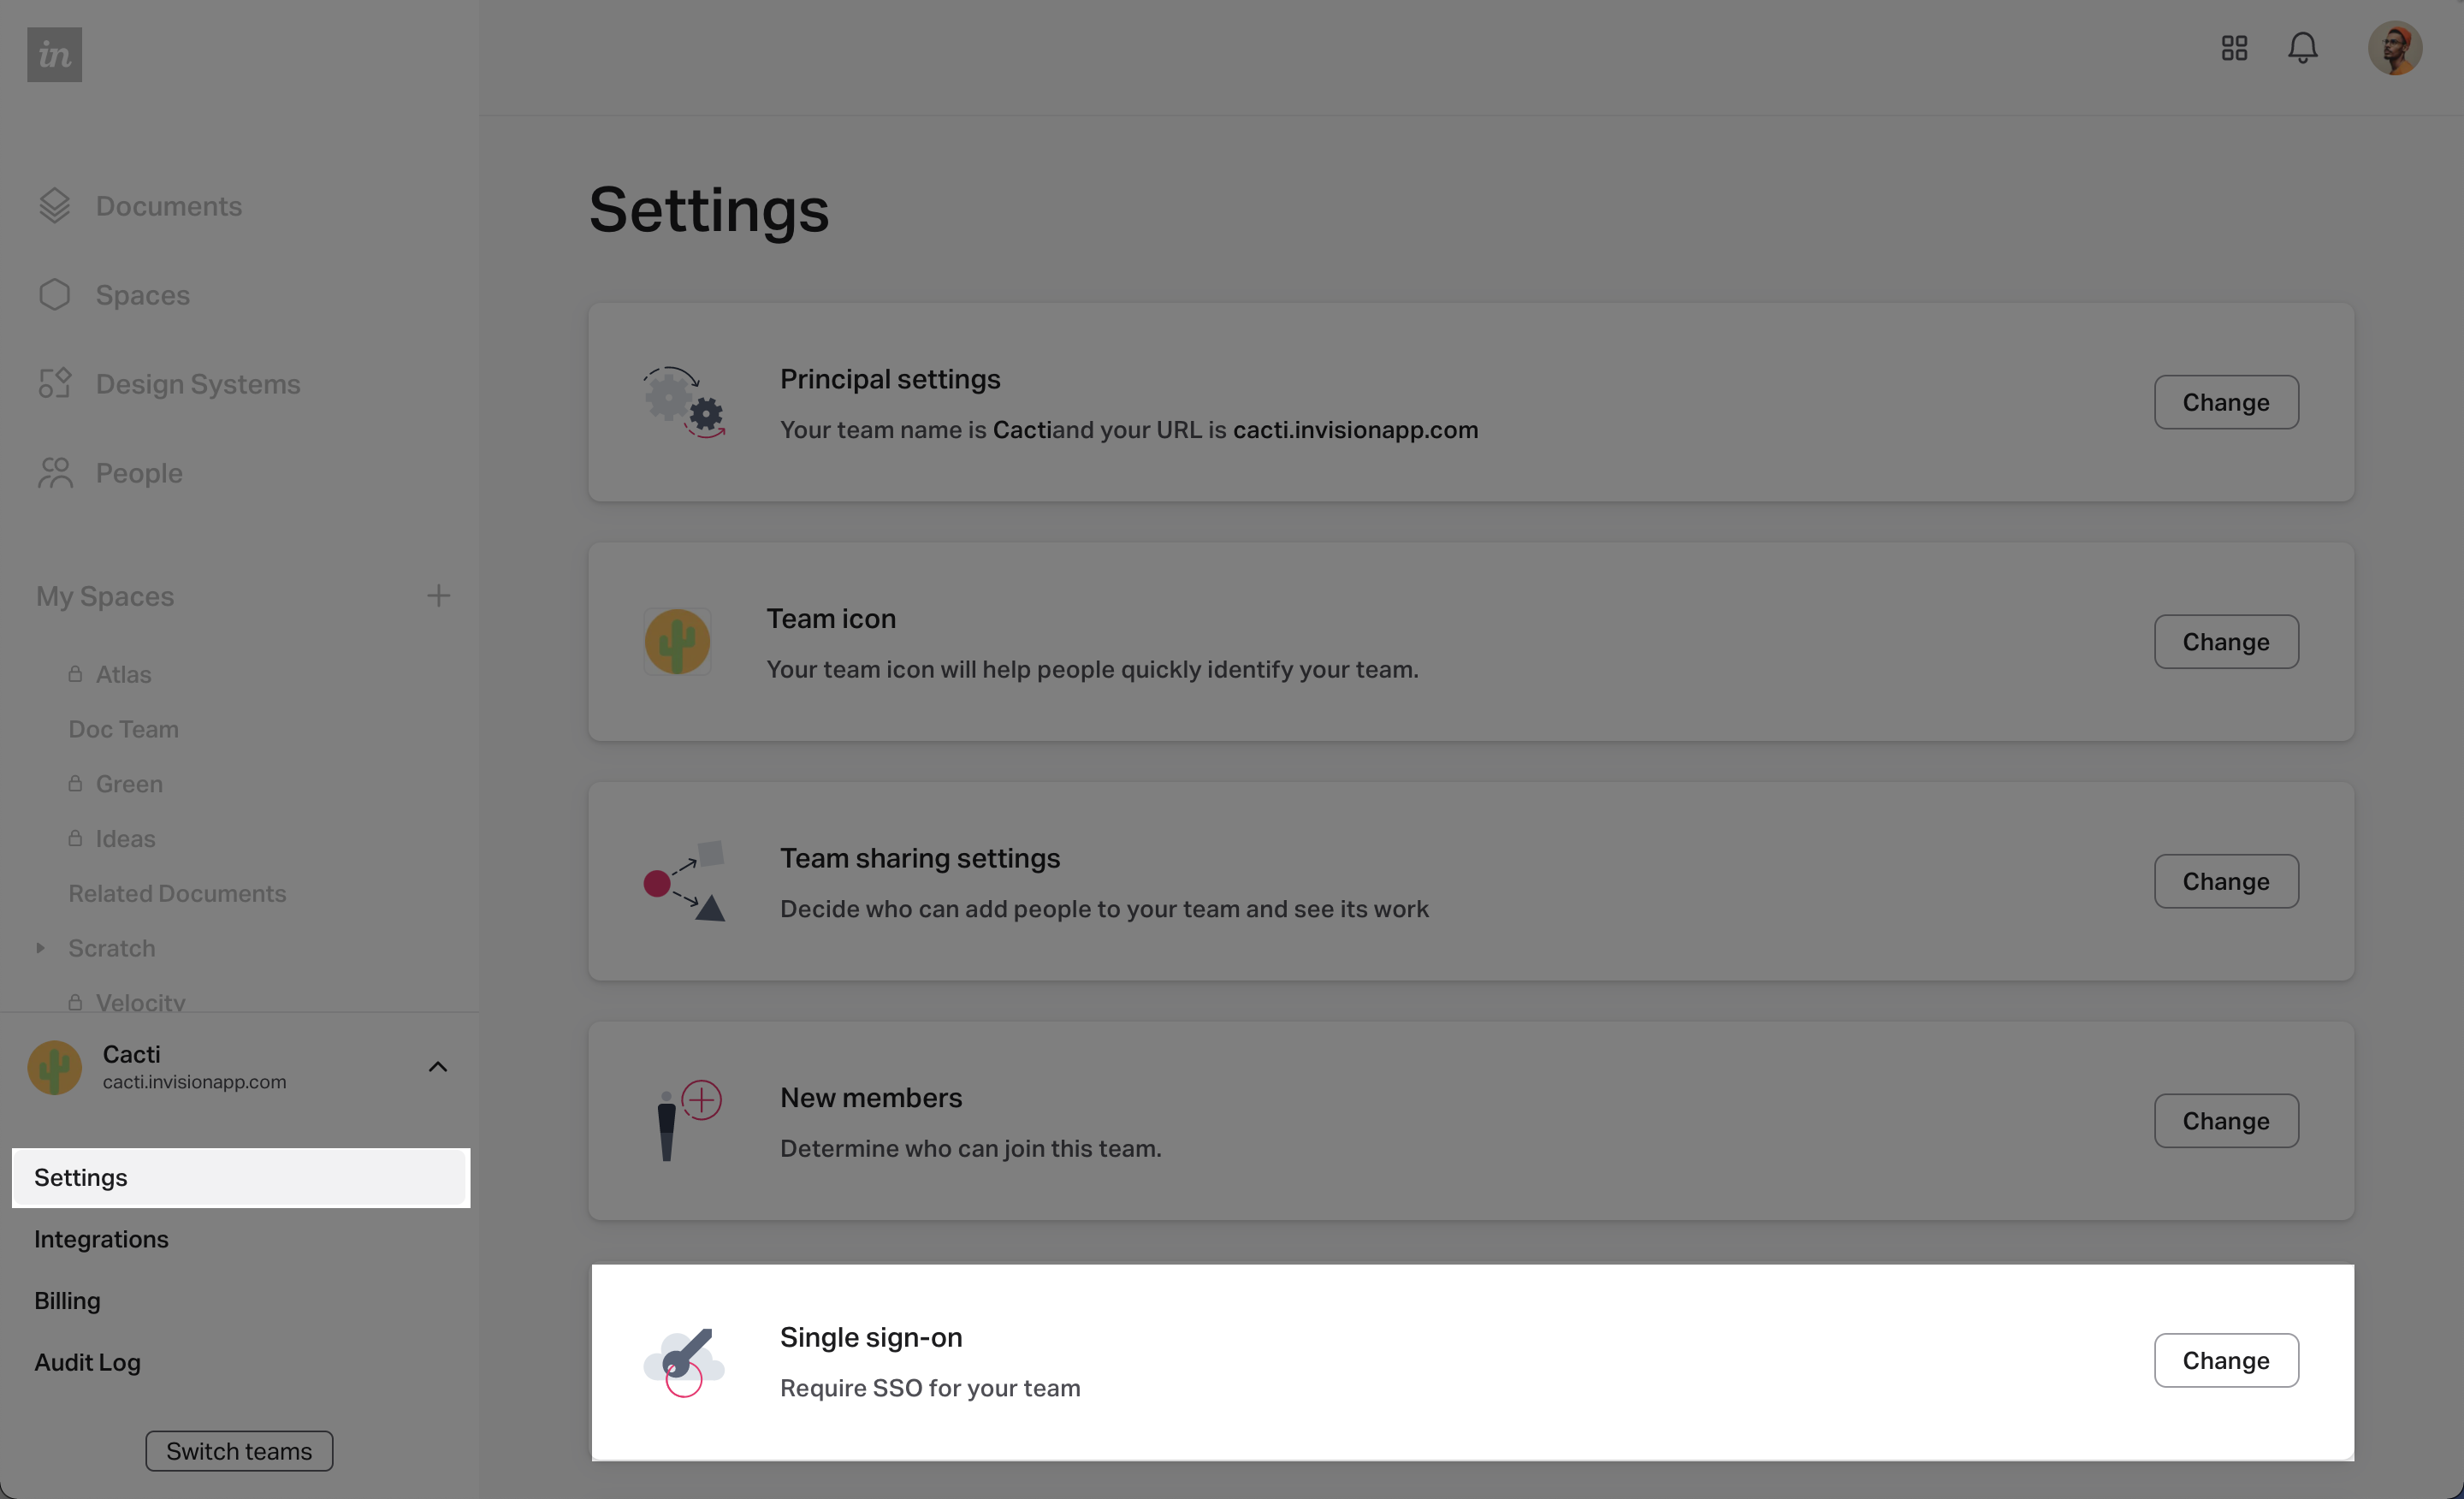
- Toggle on Require SSO for every member of [your Enterprise team]
- With the information provided in Okta’s Identity Provider metadata file, fill out the SSO settings page:
- Name: Set any name you want for the configuration.
- Sign-in URL: Use the URL provided at the end of the metadata file in the
SingleSignOnServiceattribute. - Sign-out URL: Okta doesn't support SLO, so leave this blank.
- SAML Certification: Copy the certification provided in the
ds:X509Certificateattribute of the metadata file. - Name ID Format:
urn:oasis:names:tc:SAML:1.1:nameid-format:emailAddress - HASH Algorithm: SHA-256
- SSO Button Label: Set any text you’d like for the SSO button that appears when signing in.
- Click Update.

Going forward, any user that attempts to sign in to your InVision V7 subdomain will be prompted to use SSO with Okta.
Was this article helpful?