SCIM: Configuring Okta to Allow Provisioning for InVision V6
- 30 Jan 2023
- 2 Minutes to read
- DarkLight
SCIM: Configuring Okta to Allow Provisioning for InVision V6
- Updated on 30 Jan 2023
- 2 Minutes to read
- DarkLight
Article Summary
Share feedback
Thanks for sharing your feedback!
This article provides information on an open beta feature for InVision V6 Enterprise teams.
InVision V6 Enterprise teams can configure Okta to enable System for Cross-domain Identity Management (SCIM) provisioning for their InVision members. Before you start, however, an owner or admin on the Enterprise team will need to set up SAML for your InVision V6 team as well as enable SCIM provisioning in InVision V6.
Configuring Okta to allow SCIM provisioning
To configure Okta to allow SCIM provisioning for your InVision Enterprise members:
- Sign in to Okta, click the Admin button, click Applications in the main navigation, and select your InVisionapp from the list.This should be the same app you configured for SSO for your InVision Enterprise team.
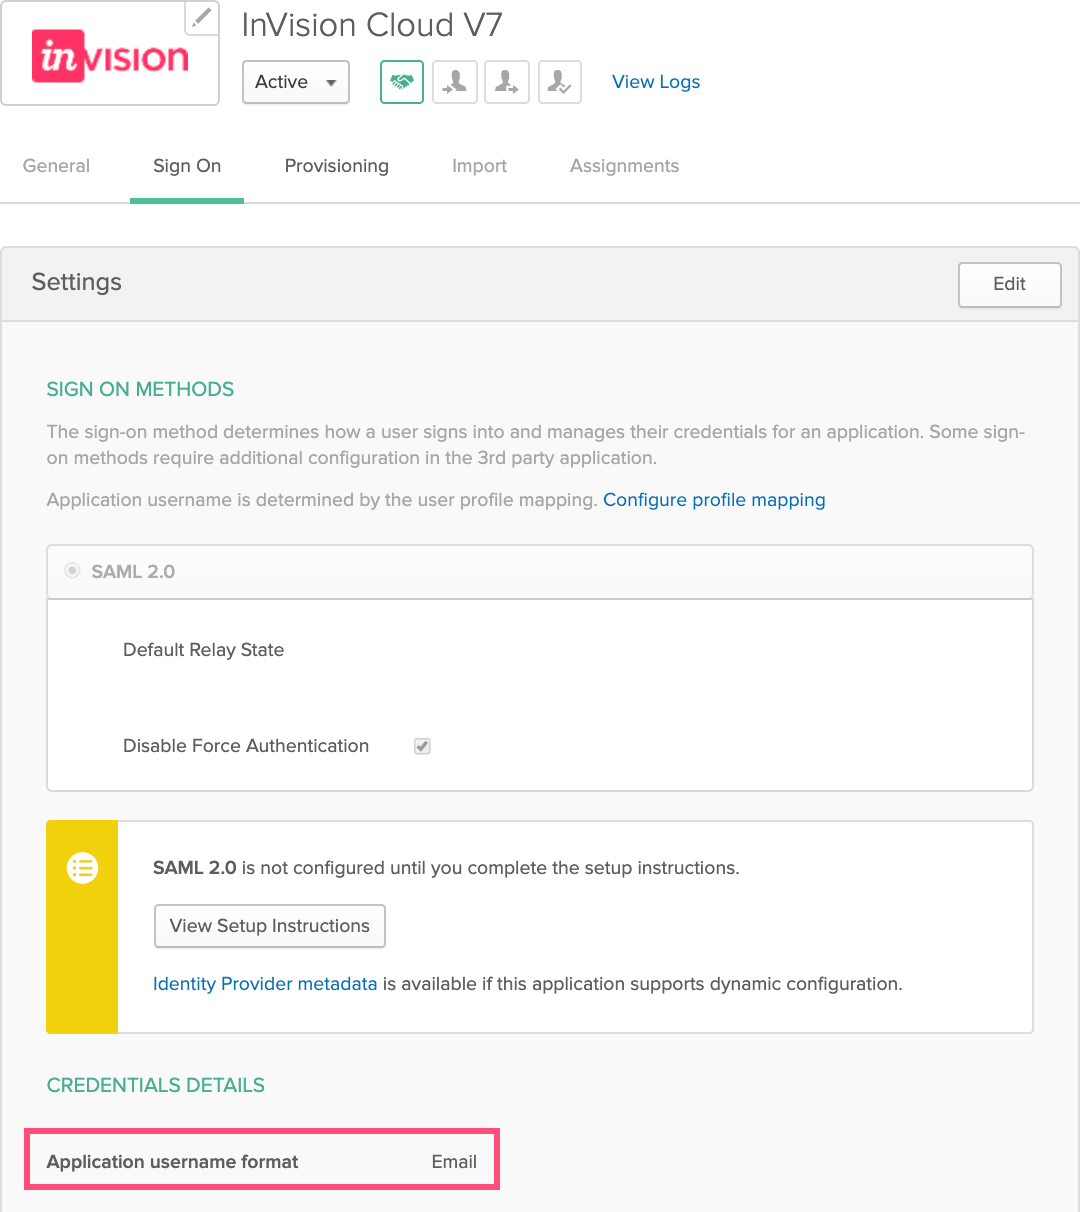
- Click the Sign On tab and, under Credentials Details, ensure that the Application username format dropdown is set to Email.
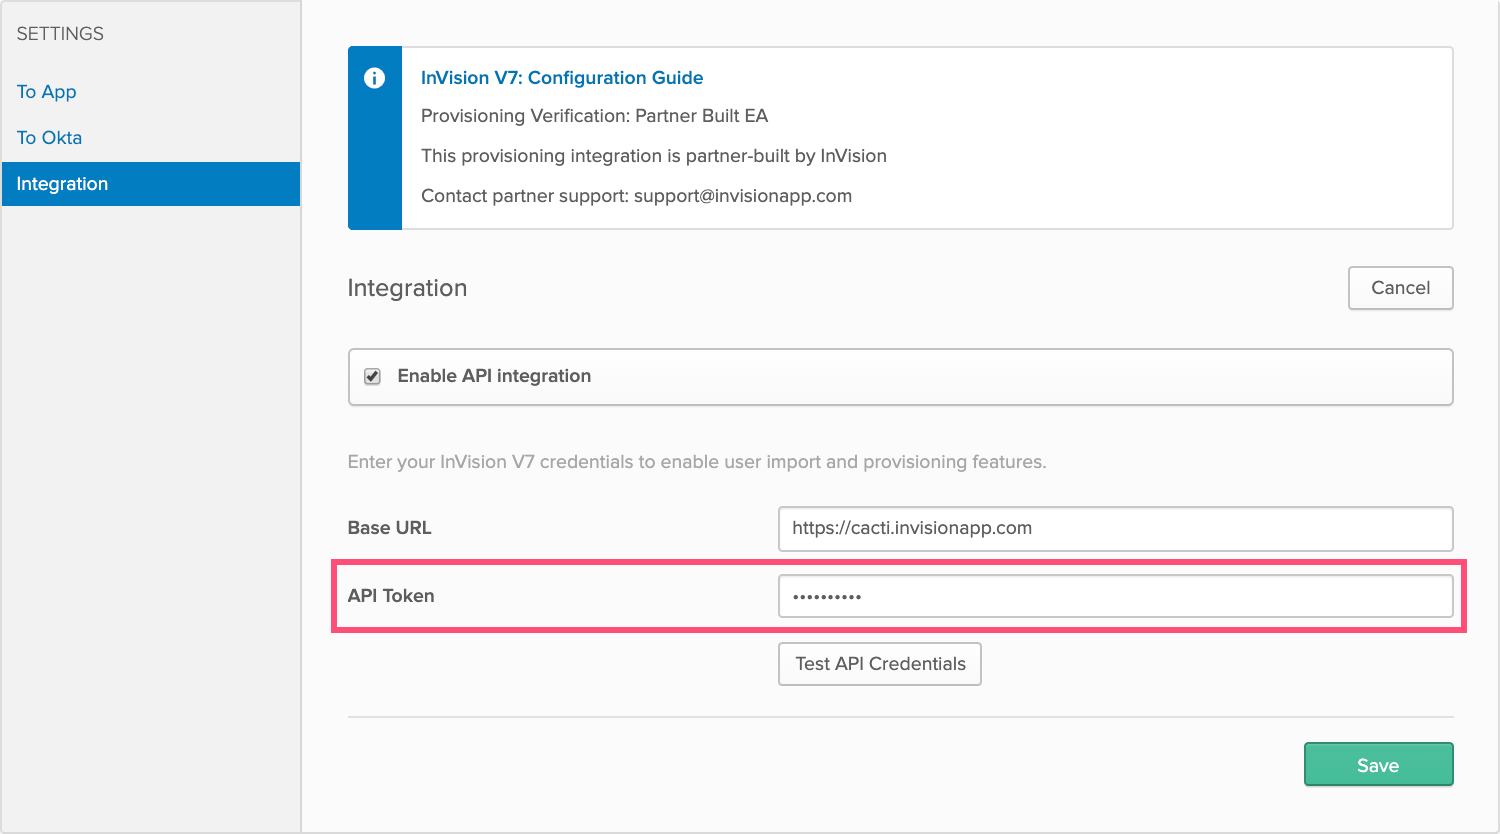
- On the Provisioning tab, click Configure API Integration, and then click the Enable API integration checkbox.


- In the Base URL field, enter the SCIM API URL (
https://your—team—name.invisionapp.com) you saved in step 5 of the SCIM provisioning in InVision V6 instructions.
- In the API Token field, paste the authentication token you copied in step 6 of the SCIM provisioning in InVision V6 instructions.
- Click Test API Credentials.
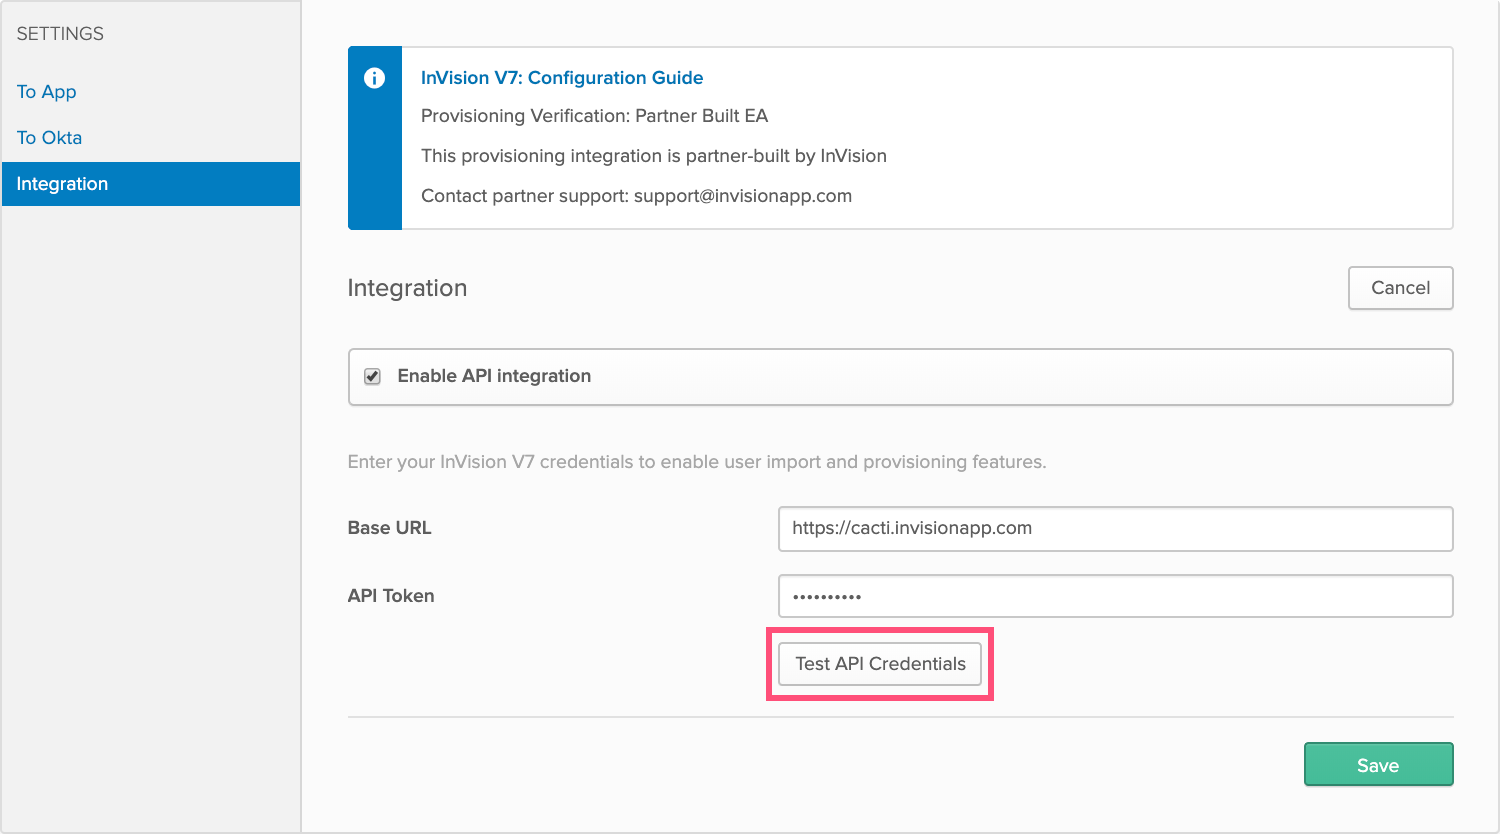 Note: If the test is successful, you will see a verification message just above the Enable API integration checkbox.
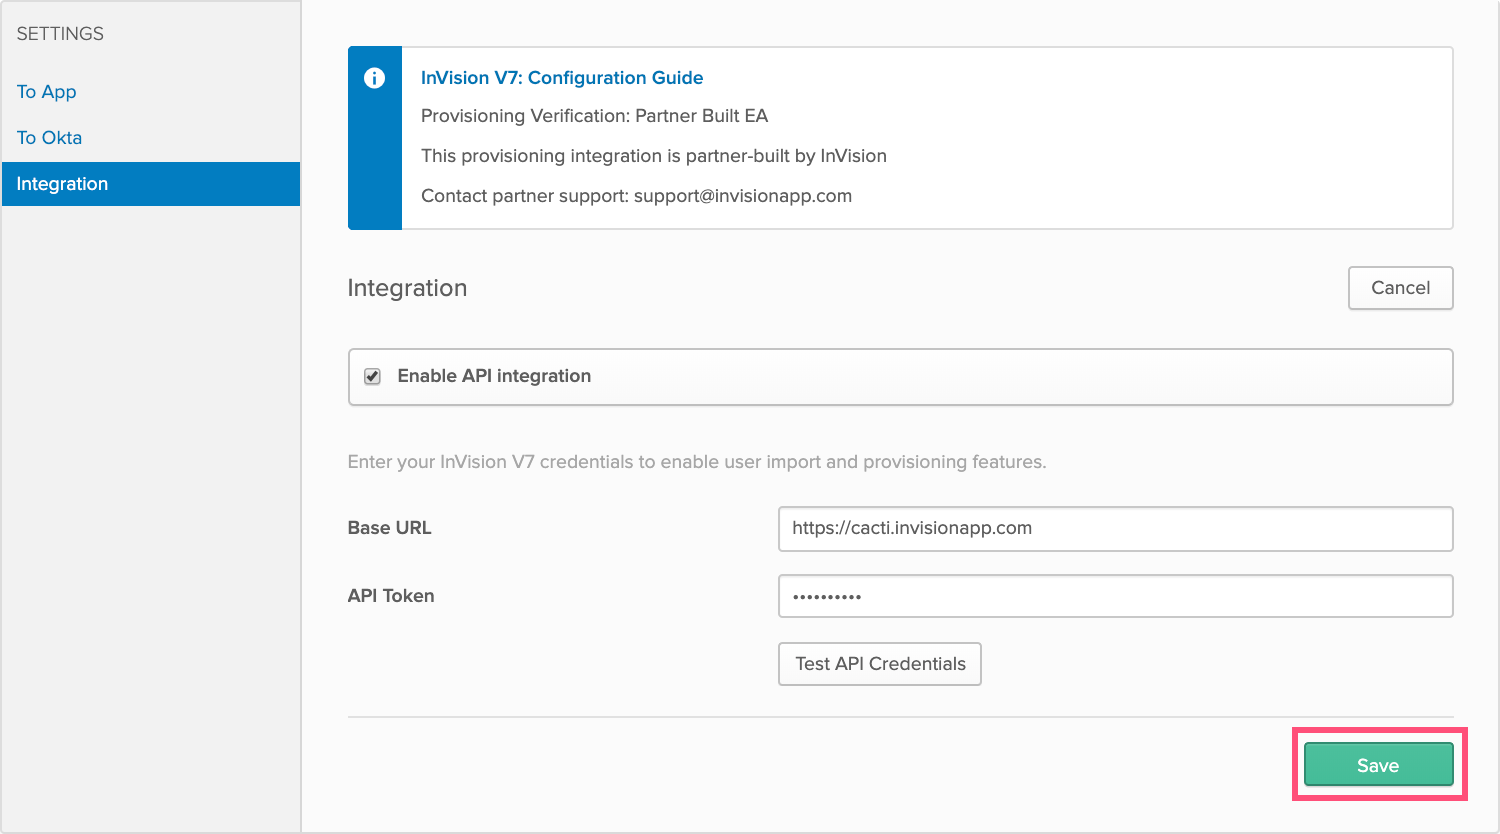
 - Click Save.
- In the left panel, click the To App tab. Next to Provisioning Features, click Edit. Next to Create Users and Deactivate Users, select each Enable checkbox, and then click Save.


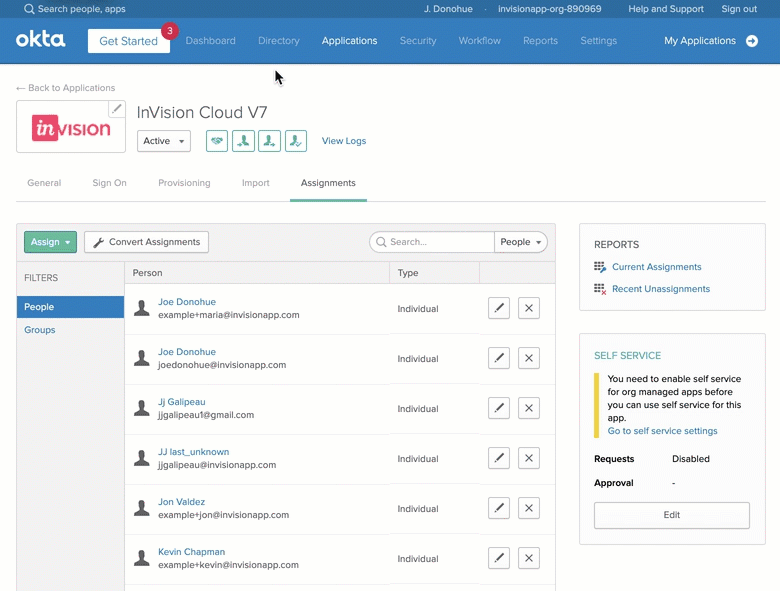
You can now assign people to the app (if needed) and finish setting up the InVision application in Okta.
Warning: Editing a user's email address and/or name in your IdP app will not update that user's profile in InVision V6.
Importing InVision members to Okta
After using the Okta app to configure your Enterprise for SCIM provisioning in Okta, you can import the members of your Enterprise from InVision to Okta.
Warning: If you've already assigned users to the InVision app in Okta, importing your members from InVision may then require repeating the assignment step for any members who were already accounted for in Okta.
Import members
To import your InVision members to Okta:
- Sign in to Okta, click the Admin button, click Applications in the main navigation, and click the InVision link.
- Click the Import tab.
- Under Import Results, click Import Now.Note: Depending on the size of your organization, the import process may take a few minutes.
- In the upper-right corner of the imported user list, select the checkbox for all users, click Confirm Assignments, and then click Confirm.Note: To confirm assignments for one user at a time, click the checkbox next to the user's name instead.


Activate imported members
To activate members you have imported:
- In the main Okta navigation, click Dashboard.
- Under Status, click [Number] people need their account activated.
- Under Activate People, click Activate All.
- Click Activate.

Learning more about SCIM provisioning for InVision V6
To learn more about SCIM provisioning for InVision V6, see these related articles:
Was this article helpful?