Work with Boards in InVision V7
- 19 Sep 2023
- 7 Minutes to read
- DarkLight
Work with Boards in InVision V7
- Updated on 19 Sep 2023
- 7 Minutes to read
- DarkLight
Article Summary
Share feedback
Thanks for sharing your feedback!
This article provides answers for InVision V7 To confirm your version, check the upper right corner of your dashboard. On V6? Check out this article instead. | 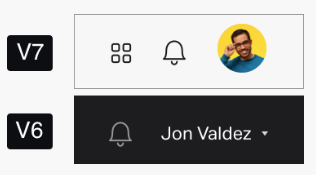 |
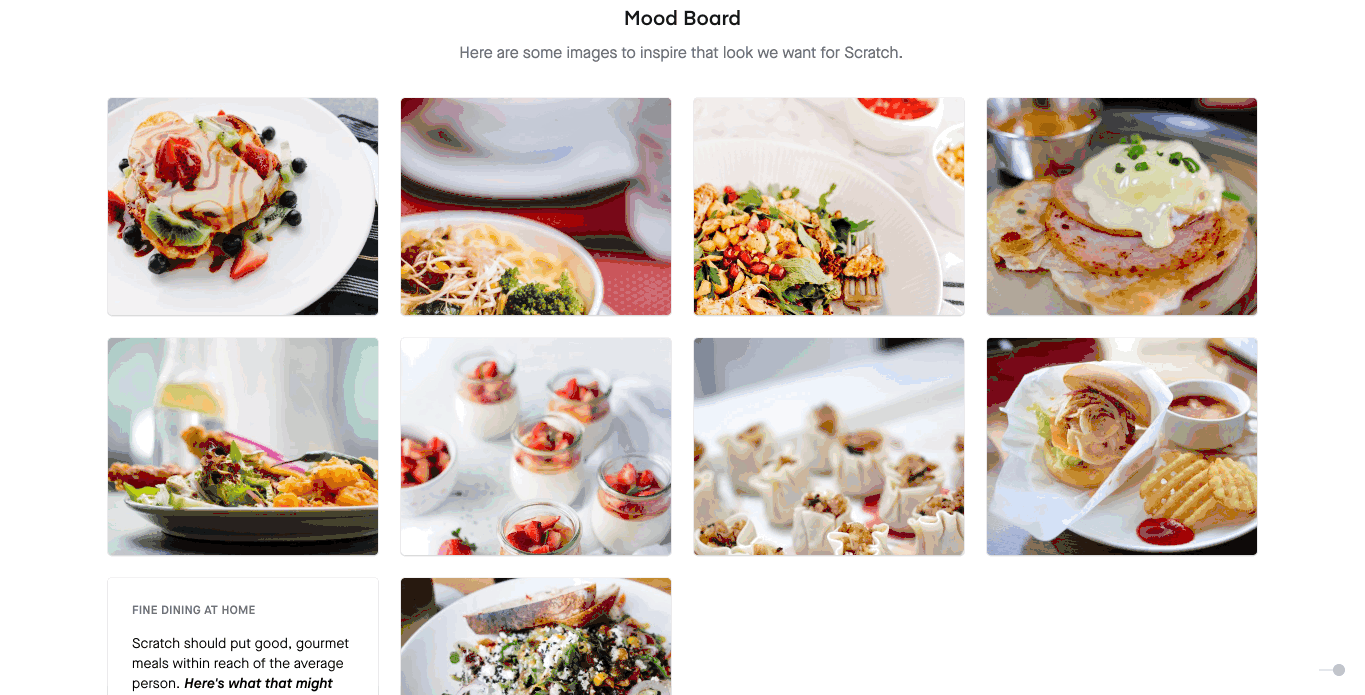
InVision Boards offer a flexible space to tell stories, share files, and collaborate with team members throughout the entire design process. Some examples of how you can use Boards include:
- Collaborating on a mood board
- Sharing your brand assets
- Curating photo galleries
With Freehand templates and add-ons, you can achieve similar functionality and take advantage of the flexibility and streamlined collaboration that Freehand offers. Check out the following templates and add-ons:
- Collect inspiration with the Mood Board template.
- Communicate your brand’s identity and style with the Brand Guidelines template.
- Set goals, requirements, considerations, and direction for creative projects with the Creative Brief template.
- Add high quality stock images from Unsplash to your freehand using the Unsplash add-on.
- Use the Color swatches add-on to add color swatches into Freehand and help identify specific colors for branding or expand creativity in working sessions.
Tip: Convert your boards to Freehand for cross-functional collaboration. Read this article for more information: Convert boards and specs to Freehand.
Create a new board
To create a board in InVision V7:
- Sign in to your InVision V7 account.
- Near the top-right corner, click + Create and choose Board.
- Name your board and click Create.
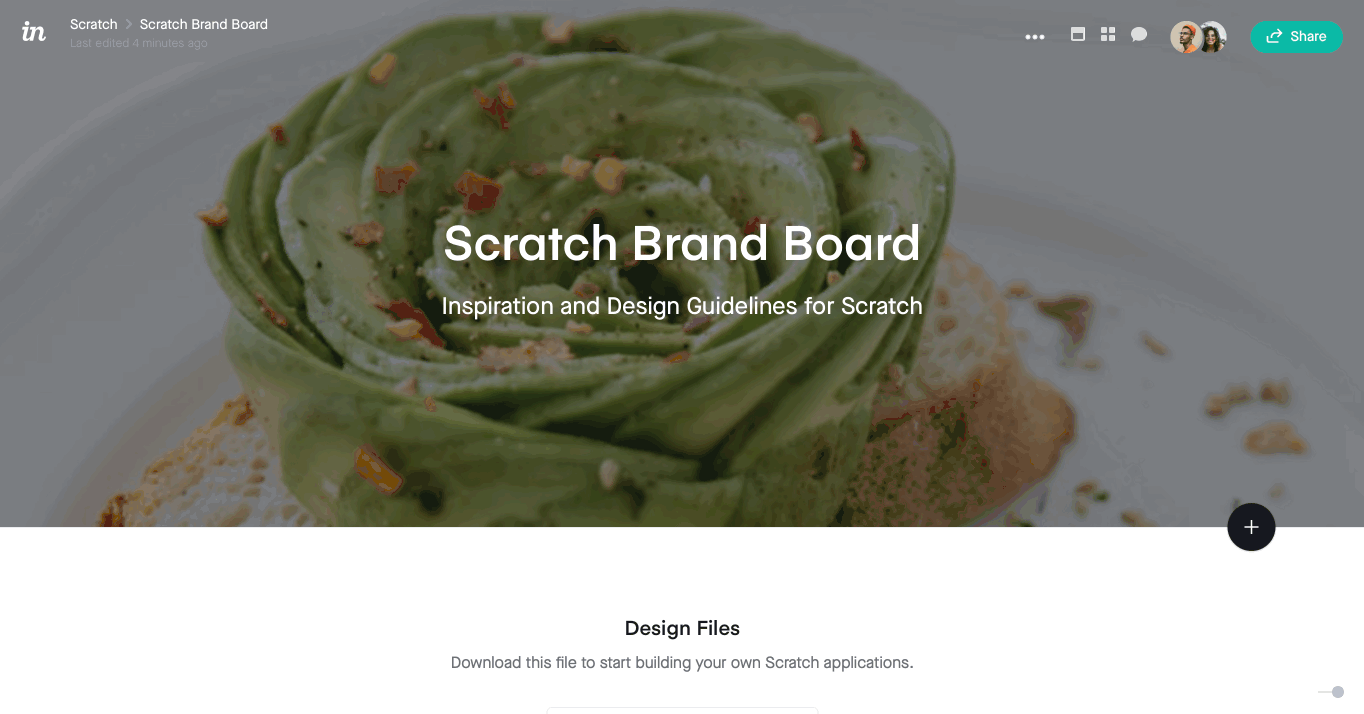
Add a photo header
To add a photo header to your board:
- Scroll to the top of your board and click the header icon (
 ).
). - Click File (
 ).Note: If this is your first time uploading a header image, skip to the next step.
 - Upload an image via drag-and-drop or browse. Images must not exceed 10MB per file.
- Click and drag your image, adjusting placement as wanted.
- To blur your image, click Blur (
 ) and adjust the setting with the slider.
 - To darken or lighten your image, click Overlay (
 ) and adjust the setting with the slider.
 - To change the size of your photo header, click Size (
 ) and select a size.
 - To save your changes, click the right-hand checkmark or click outside of the header area.
 ).
). ).
). ) and adjust the setting with the slider.
 ) and adjust the setting with the slider.
 ) and select a size.
Set a layout style
To set a board's layout, navigate to the top right of the board and click the layout icon ( ). Choose your preferred layout:
- Masonry: This collage format displays item thumbnails at their original proportions.
- Meticulous: This balanced format crops item thumbnails to fit in regular columns with a relaxed approach to rows.
- Grid: This structured format crops item thumbnails to fit them to regular columns and rows.
Add items
Upload files to a board
To upload items to a board in InVision V7:
- Open your board and hover over any section.
- To the right of the section, click the + icon, and then click Upload (
 ).
). - Choose the file you want to upload.Note: The size limit for an individual file is 10MB.
 ).
).Once the upload finished, it appears as a tile on the board. You can move the tile anywhere you choose.
Note: You can also drag files directly from your computer onto the board.
What file types are supported?
You can upload most non-system file types to a board, allowing you to share files commonly used among your team. Viewers of a board can both comment on items and download source files.
If you are uploading font files and you want to view examples of the font on your board, we recommend using a TTF file type.
- Graphics: PNGs, JPGs, GIFs, etc.Note: Images must not exceed 10MB (megabytes) per file.
- Source Files: Photoshop, AI, Sketch
- Font Files: OTF, TTF, etc. (Please ensure your license allows for posting any font files. Also, you'll need to use a TTF file if you would like to be able to view examples of your font from within the board.)
- Color Swatches: By HEX values
- PDFs
- Text Documents: DOC, DOCX, etc.
- Spreadsheet Documents: XLS, XLSX, etc.
- Presentation Documents: PPT, PPTX, etc.
- Audio Files: MP3, etc.
- Video Files: AVI, MOV, etc.
- Code Files: HTML, CSS, JS, etc.
- ZIP Files
- All other non-system file types
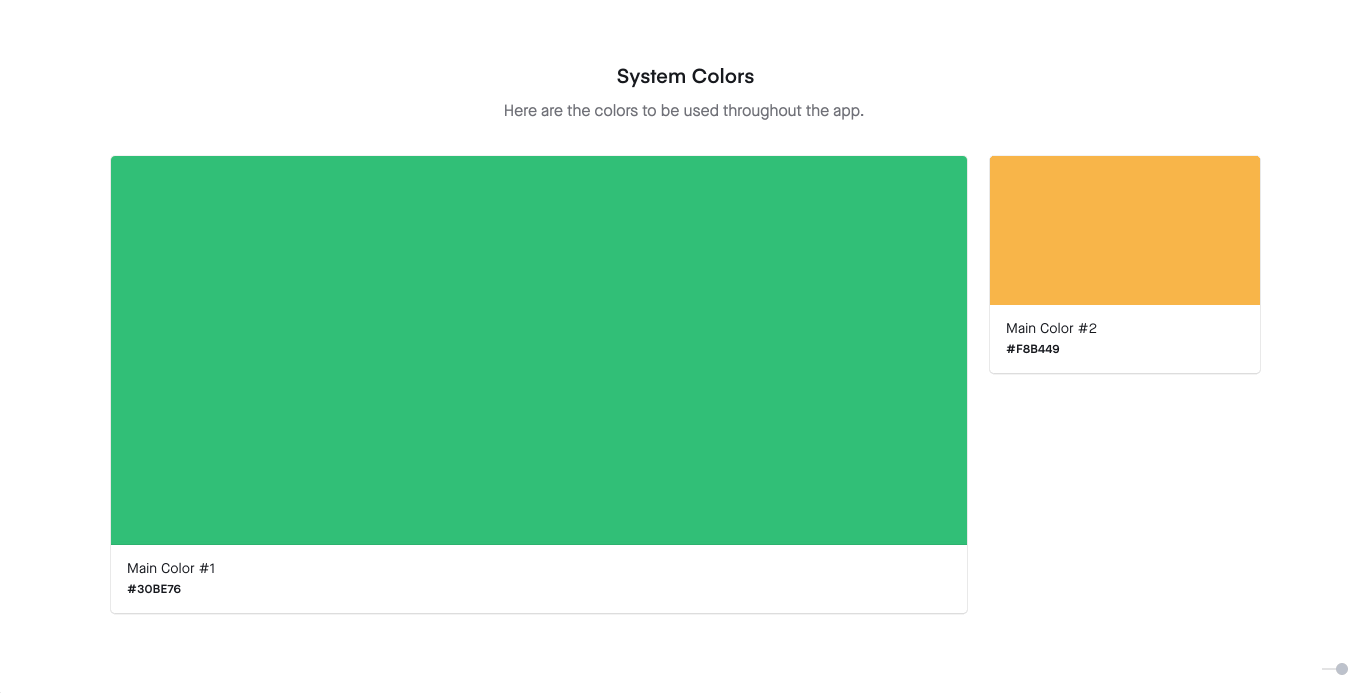
Add a color swatch
To add a color swatch to your board:
- Hover over a section title and, to the right, click the + button.
- Click the eyedropper icon (
 ).
). - Type in the HEX value of the color you want to add and press Enter.
- Press Enter again. Fields appear where you can name the color, give a description, or add comments.
 ).
).
To add a color swatch pulled from a board image:
- Click the image on your board.
- In the comment area, hover over the bar of colors.
- Click the + icon on the color you want to add.
The color swatch should now appear on your board, and you can rearrange it as needed.
Add a note
To add a note to your board:
- Hover over a section title and, to the right, click the + button.
- Click File ().
- Enter a note title and body text. You can edit the body text using the formatting options at the top right of the main window.
The note should now appear on your board, and you can rearrange it as needed.

Create and organizing sections
To create a new section on your board:
- Place your cursor either above or below an existing section and click the + button that appears.
- Enter an optional title and description.
- Hover over the new section and, to the far right, click the up and down arrows to move the section to a new position on the board.

Resize items
To resize any item on your board, hover over a tile and, in the top right, click Set item size ( ). Choose a width of 1 to 4 columns.
Select multiple items
To select multiple items at once on a board:
- Beginning on the board's blank space, click and drag to create a selection box around any tiles.
- Hold Shift or Command (Ctrl for Windows) and click the chosen tiles.
A drawer appears at the bottom of the screen showing the number of items selected. Here you can perform bulk actions like changing the tile size, moving to a new section, or deleting.

Add and remove people
Invite collaborators to a board
To invite specific people to a board:
- Open a document and, at the top right, click Share.
- Click the Members & Guests tab.
- In the To: field, enter the name of a person. To add someone who isn't yet a member of your team, enter their email address.
Note: It's not possible to add user groups to a board. - To the right of the person's name or email address, click the dropdown and select Can edit or Can review.
- Click Invite.
Remove collaborators
To remove a collaborator from your board:
- Open the board and, at the top right of the page, click Share.
- Next to the collaborator's name, click the dropdown and select Remove.
When you remove collaborators from a board (or remove them from an account), their comments remain on the board.
Use document links
Document links are the main working URLs for boards, freehands, specs, and prototypes.
To get a document link:
- Open a board and, at the top right, click Share.
- Click the Members & Guests tab.
- To the right of Copy link, click Settings.
- On the Manage sharing settings page, select an option for Who can open this document? and What can they do?
Note: To learn more about document link settings, check out this article: InVision V7: What settings are available for document links?
To learn more about the global team sharing settings that determine which roles can manage access via document links, read this article: Configuring InVision V7 team sharing settings - Click Save.
- Back in the share dialog, click Copy Link. You can now share the document link as needed.
Use public share links
Public share links make it easy to share your board with a broader audience that's not part of your team. If you are on an Enterprise plan, you can also password protect public links.
Get a public share link
To get the public share link for a board:
- Open the document and, at the top right, click Share.
- In the share dialog, click the Public tab.
- Click Update public link settings, make any changes to your settings, and then click Done.Note: Password protection is only available for InVision V7 Enterprise teams. To learn more about public link settings, check out this article: Configuring public share link settings for InVision V7 boards
- Back in the share dialog, Copy the public link URL. You can now share the public link with anyone you choose.
Board share link settings
To learn more about public link settings, check out this article: Configuring public share link settings for InVision V7 boards
Comment on boards
Note: Board creators don't receive a notification via email when someone comments on the board, only when they're mentioned in a comment.
To add a comment to a board:
- Open an image file on the board.
- In the right-hand comment field, type your message.
- To tag another collaborator, type "@" and then the person's name or email address.
Note: If they're not already a collaborator on the board, typing "+" and then their email address sends them an invite to join. - To annotate your comment, click the annotation icon (
 ), and then click a point on the image you want the comment associated with.
 - When finished, click Post Comment.
 ), and then click a point on the image you want the comment associated with.
Was this article helpful?