Two-factor authentication in InVision V6
- 28 Feb 2023
- 3 Minutes to read
- DarkLight
Two-factor authentication in InVision V6
- Updated on 28 Feb 2023
- 3 Minutes to read
- DarkLight
Article Summary
Share feedback
Thanks for sharing your feedback!
This article provides answers for InVision V6To confirm your version, check the upper right corner of your dashboard. On V7? Check out this article instead. | 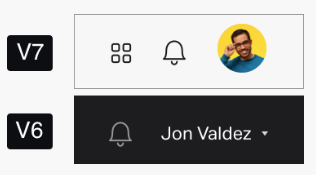 |
Enterprise customers can enhance authentication security with two-factor authentication, including Google Authenticator, Microsoft Authenticator, Authy, or any other RFC 6328/RFC 4226-compliant multi-factor token.
Setting up two-factor authentication
To establish two-factor authentication as a requirement for your organization, an Enterprise admin must:
- Visit your Enterprise subdomain (e.g.
your-subdomain.invisionapp.com) and sign in. - In the primary navigation, click People.
- To the left of the pink + button, click the ••• (more) icon and click Member Permissions.
- Under the Global heading, toggle the Require two-factor authentication for logins switch to the right.
- The admin will then need to turn on two-factor authentication for their own account, following the instructions in the "Setting Up Two-Factor Authentication" section below.
Once this setting is applied and at least one admin in the Enterprise has setup two-factor authentication, members of the Enterprise will receive an in-app notification that two-factor authentication is now enabled and members must update their authentication settings as well. The notification also includes a link to this Help Center article so they can read the set-up instructions. Access to the Enterprise proper will be restricted until two-factor authentication is confirmed.
There are two options for establishing two-factor authentication for your InVision Enterprise:
- Authentication via SMS (short message service)
- Authentication via the Google Authenticator app or another approved authenticatorNote: To provide a real-world example, the instructions below refer to Google Authenticator.
Two-factor authentication via SMS
Warning: If your organization or collaborators are located in a region that has SMS restrictions in place (for example, parts of India, France, and China), the sign-in process may be disrupted; therefore, we recommend using Google Authenticator or a similar app to establish two-factor authentication in such areas. To learn more, read this article: Limitations with SMS-based two-factor authentication (2FA) for InVision Enterprise
To enable two-factor authentication via SMS:
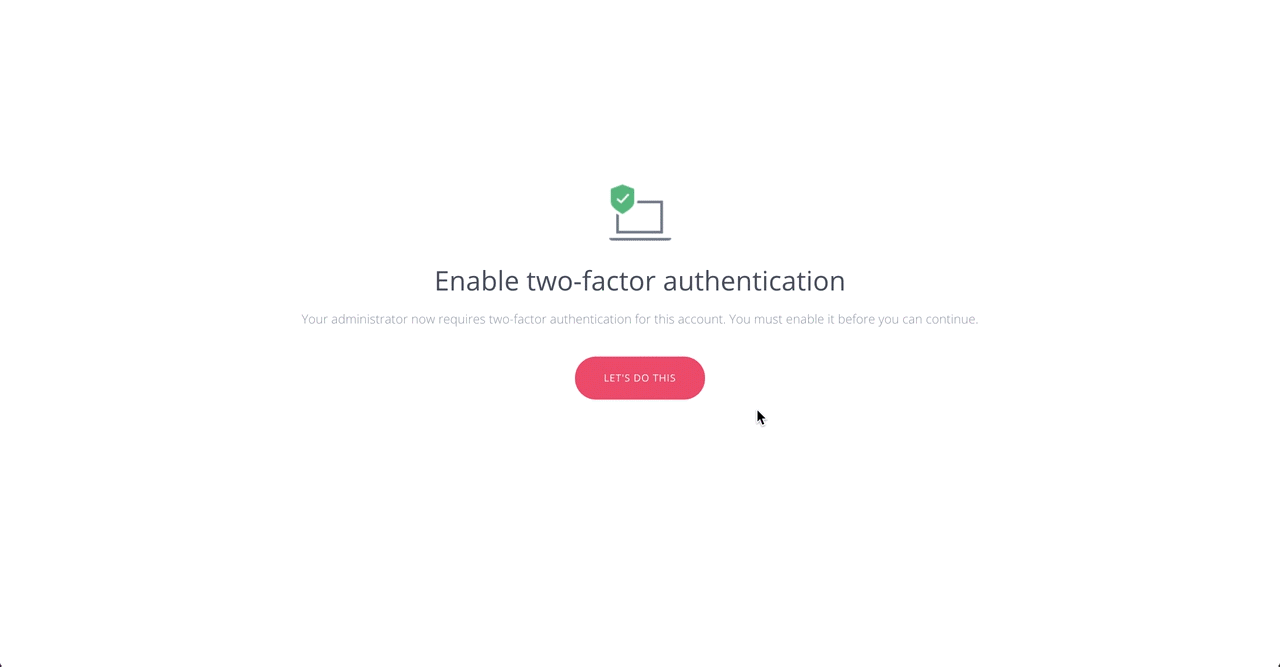
- Visit your Enterprise subdomain (e.g.
your-subdomain.invisionapp.com). - When prompted to enable two-factor authentication, click Let's Do This.
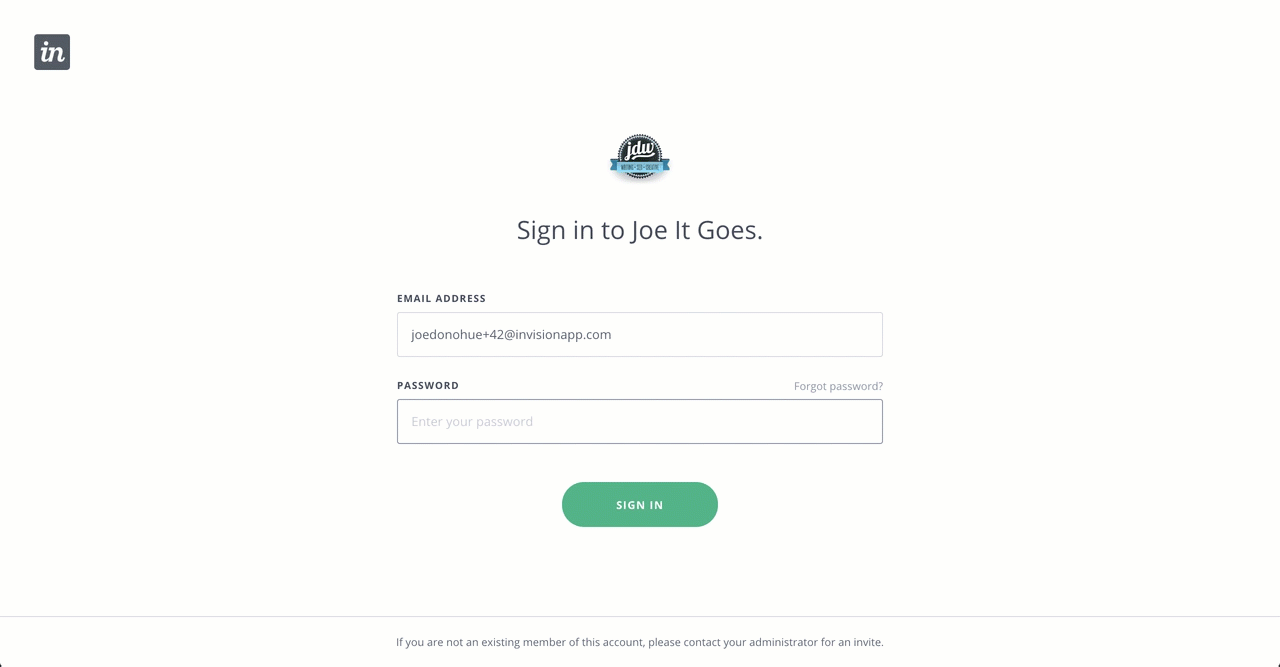
- Re-enter your InVision password and click Continue.
- Click Text Message, enter your mobile number, and then click Next.
- Enter the code you received via SMS.
- Click Finish.

Two-factor authentication via the Google Authenticator app
- Visit your Enterprise subdomain (e.g.
your-subdomain.invisionapp.com). - When prompted to enable two-factor authentication, click Let's Do This.
- Re-enter your InVision password and click Continue.
- Click Google Authenticator.
Note: You will also need to download the Google Authenticator app from the iOS App Store or Google Play Store. - Open the Google Authenticator app on your mobile device. Click the + icon at the top-right corner of the app, and click Scan barcode at the bottom of the app.
- Scan the barcode on your computer screen.
- Click Next, and then enter the code the Google Authenticator app provided.

Once you’re successfully signed in, you’ll see a confirmation message as well as options to view your backup codes and change your authentication method.
Warning: We strongly advise customers to jot down the Backup Codes at the end of the process and store them somewhere safe (not in your phone). This will be the only way to access the account if a device is lost or the phone number is changed.
Resetting two-factor authentication
If for some reason you don't have access to your device or are not receiving the verification code via SMS, please enter the backup codes you saved when initially setting up two-factor authentication in the Verification code field.
Each of the backup codes can be used once to sign in to the account, bypassing the need for an authentication device.
.jpg)
What do I do if I don't have my backup codes?
If you don't have access to your backup codes, please reach out to our support team.
Frequently asked questions
How do I generate more backup codes if I've used up my initial batch?
To generate more backup codes:
- Sign in to your account.
- At the top right, click your avatar and click View Profile.
- Click the Password tab.
- At the bottom of the screen, next to Two Factor Authentication is On, click Change.
- Re-enter your password and click Continue.
- To the right of the Backup codes heading, click View Codes.
- At the bottom of the Backup codes dialog, click Get New Codes.Note: New codes will be generated. Be sure to jot them down somewhere safe.
- Click Done (twice).
How do I disable two-factor authentication for my Enterprise company?
Only an admin can turn off two-factor authentication for an Enterprise company. The admin will need to navigate back to Member Permissions where two-factor authentication was enabled, and then toggle Require Two Factor Authentication back to OFF.
Can I use two-factor authentication for the InVision iOS app or Craft Sync?
Our InVision iOS app and Craft plugins do not currently supporttwo-factor authentication.
Can I require two-factor authentication for my share links?
At this time, share links are not subject to two-factor authentication.
Was this article helpful?