How do I create and apply a hotspot template?
- 06 Jan 2023
- 1 Minute to read
- DarkLight
How do I create and apply a hotspot template?
- Updated on 06 Jan 2023
- 1 Minute to read
- DarkLight
Article Summary
Share feedback
Thanks for sharing your feedback!
This article provides answers for InVision V7 To confirm your version, check the upper right corner of your dashboard. On V6? Check out this article instead. | 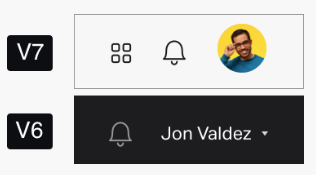 |
Creating and applying hotspot templates
Here’s how to set up and apply hotspot templates:
- Create a hotspot. In the hotspot setup, select the destination screen.
- Check the Include in Hotspot setting.
- Click Create New (when initially setting up a hotspot template), or select a pre-created hotspot from the dropdown.
- Click Save.
- Repeat the above steps for any additional templated hotspots on this screen only.
Once you've added all the hotspots to your template on that screen, go to any other screen. From the templates drop down, click the check box next to the template.
When uploading screens from the Screens tab, hotspot templates resize and reposition automatically if a screen size changes.
When applying hotspot templates, we still recommend that screens are the same size and pixel density to ensure the best fit.
Renaming a hotspot template
To rename a hotspot template:
- Open the Build mode.
- At the top, click the hotspot templates dropdown.
- Click the name of the hotspot template.
- Type in the new name, and click
Enterto confirm.
Removing a hotspot template
To remove a hotspot template:
- Open the Build mode.
- At the top, click the hotspot templates dropdown.
- Hover over the template you'd like to delete, and click the trash can icon.
Changing screens from 1x to 2x
Follow our steps for replacing a screen, and your hotspots should adjust. Your hotspots should also adjust if downscaling from 2x to 1x.
Can hotspots automatically scale when syncing with Craft?
This feature is limited to screens uploaded via the web UI. With Craft, hotspots will display in a position relative to any original screens.
Was this article helpful?